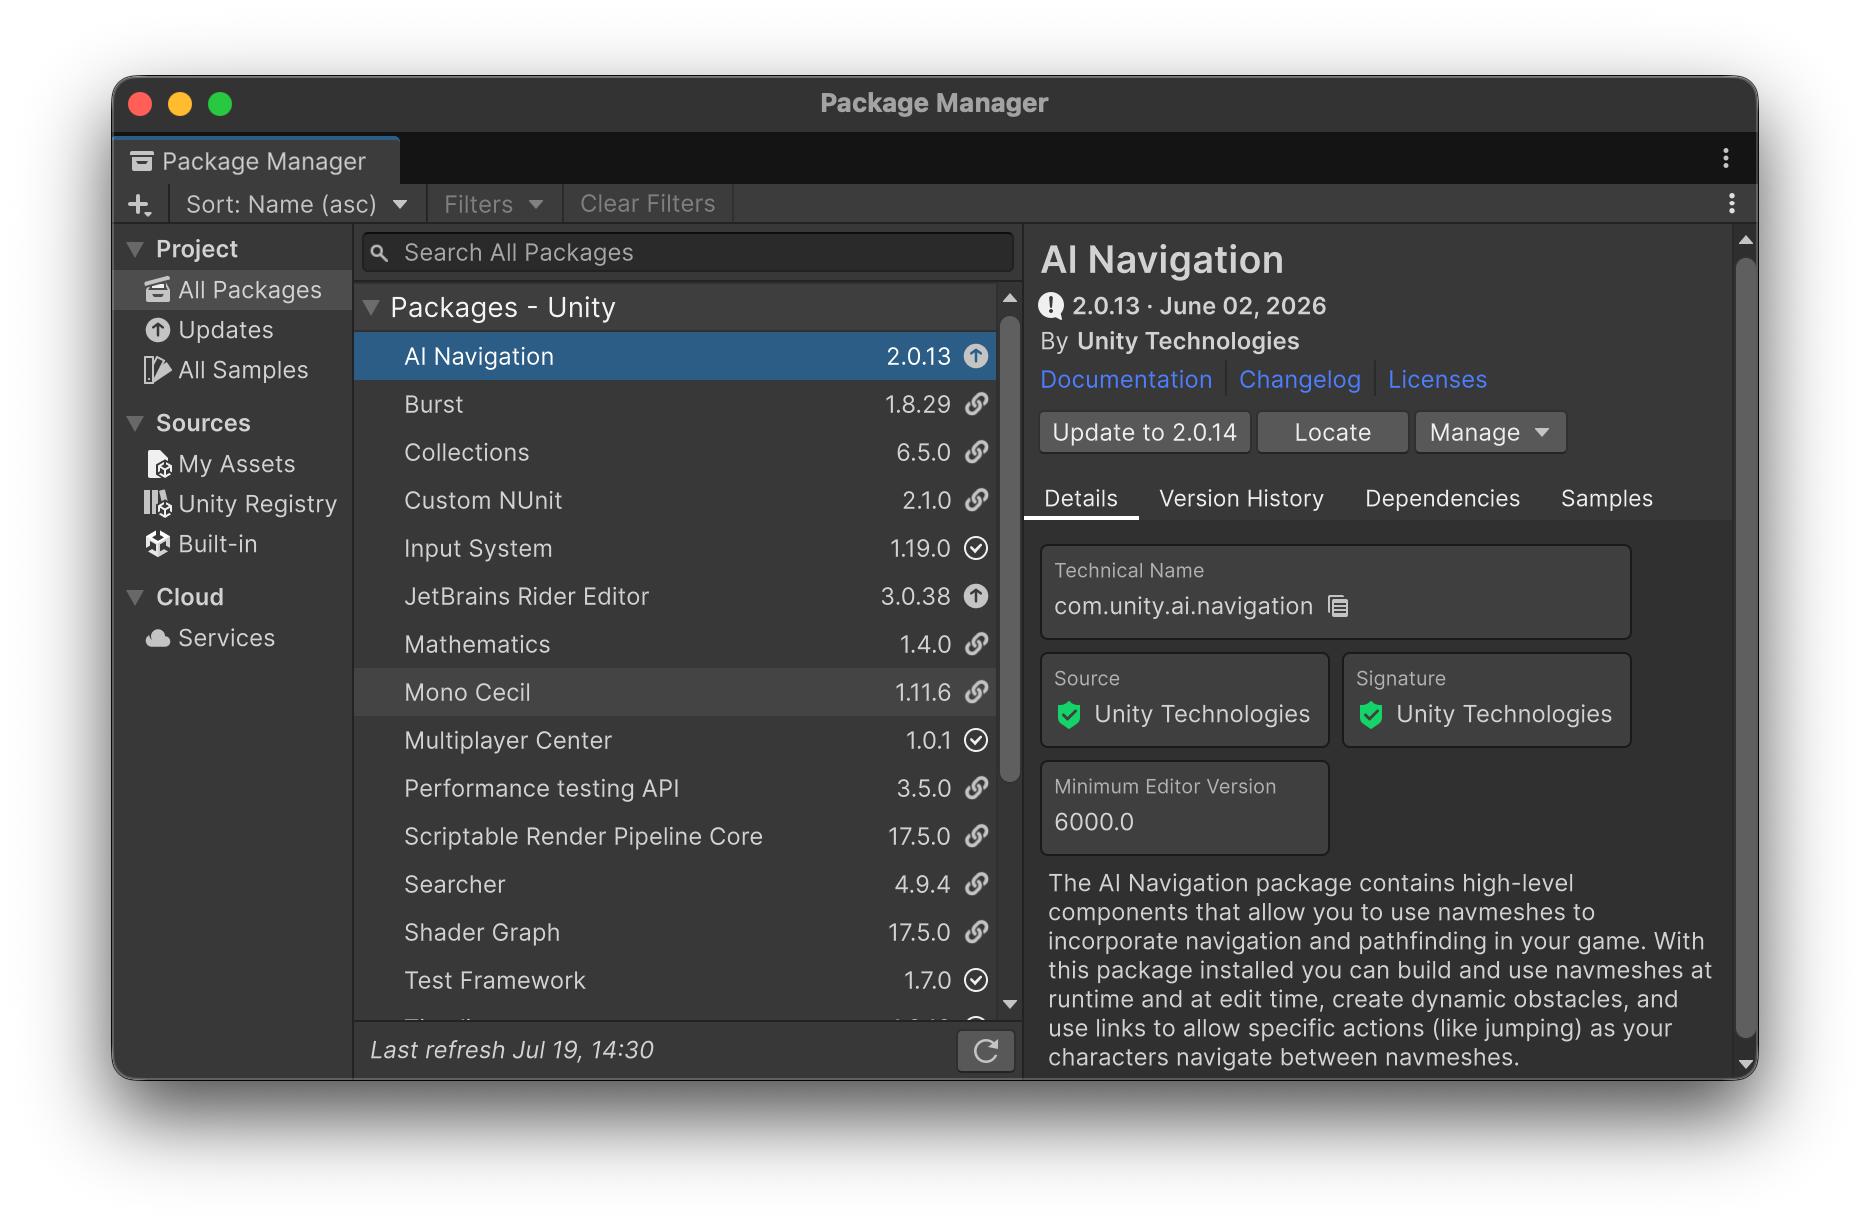
If you have not installed Unity yet, do that first. You can find a tutorial here: Installing Unity.
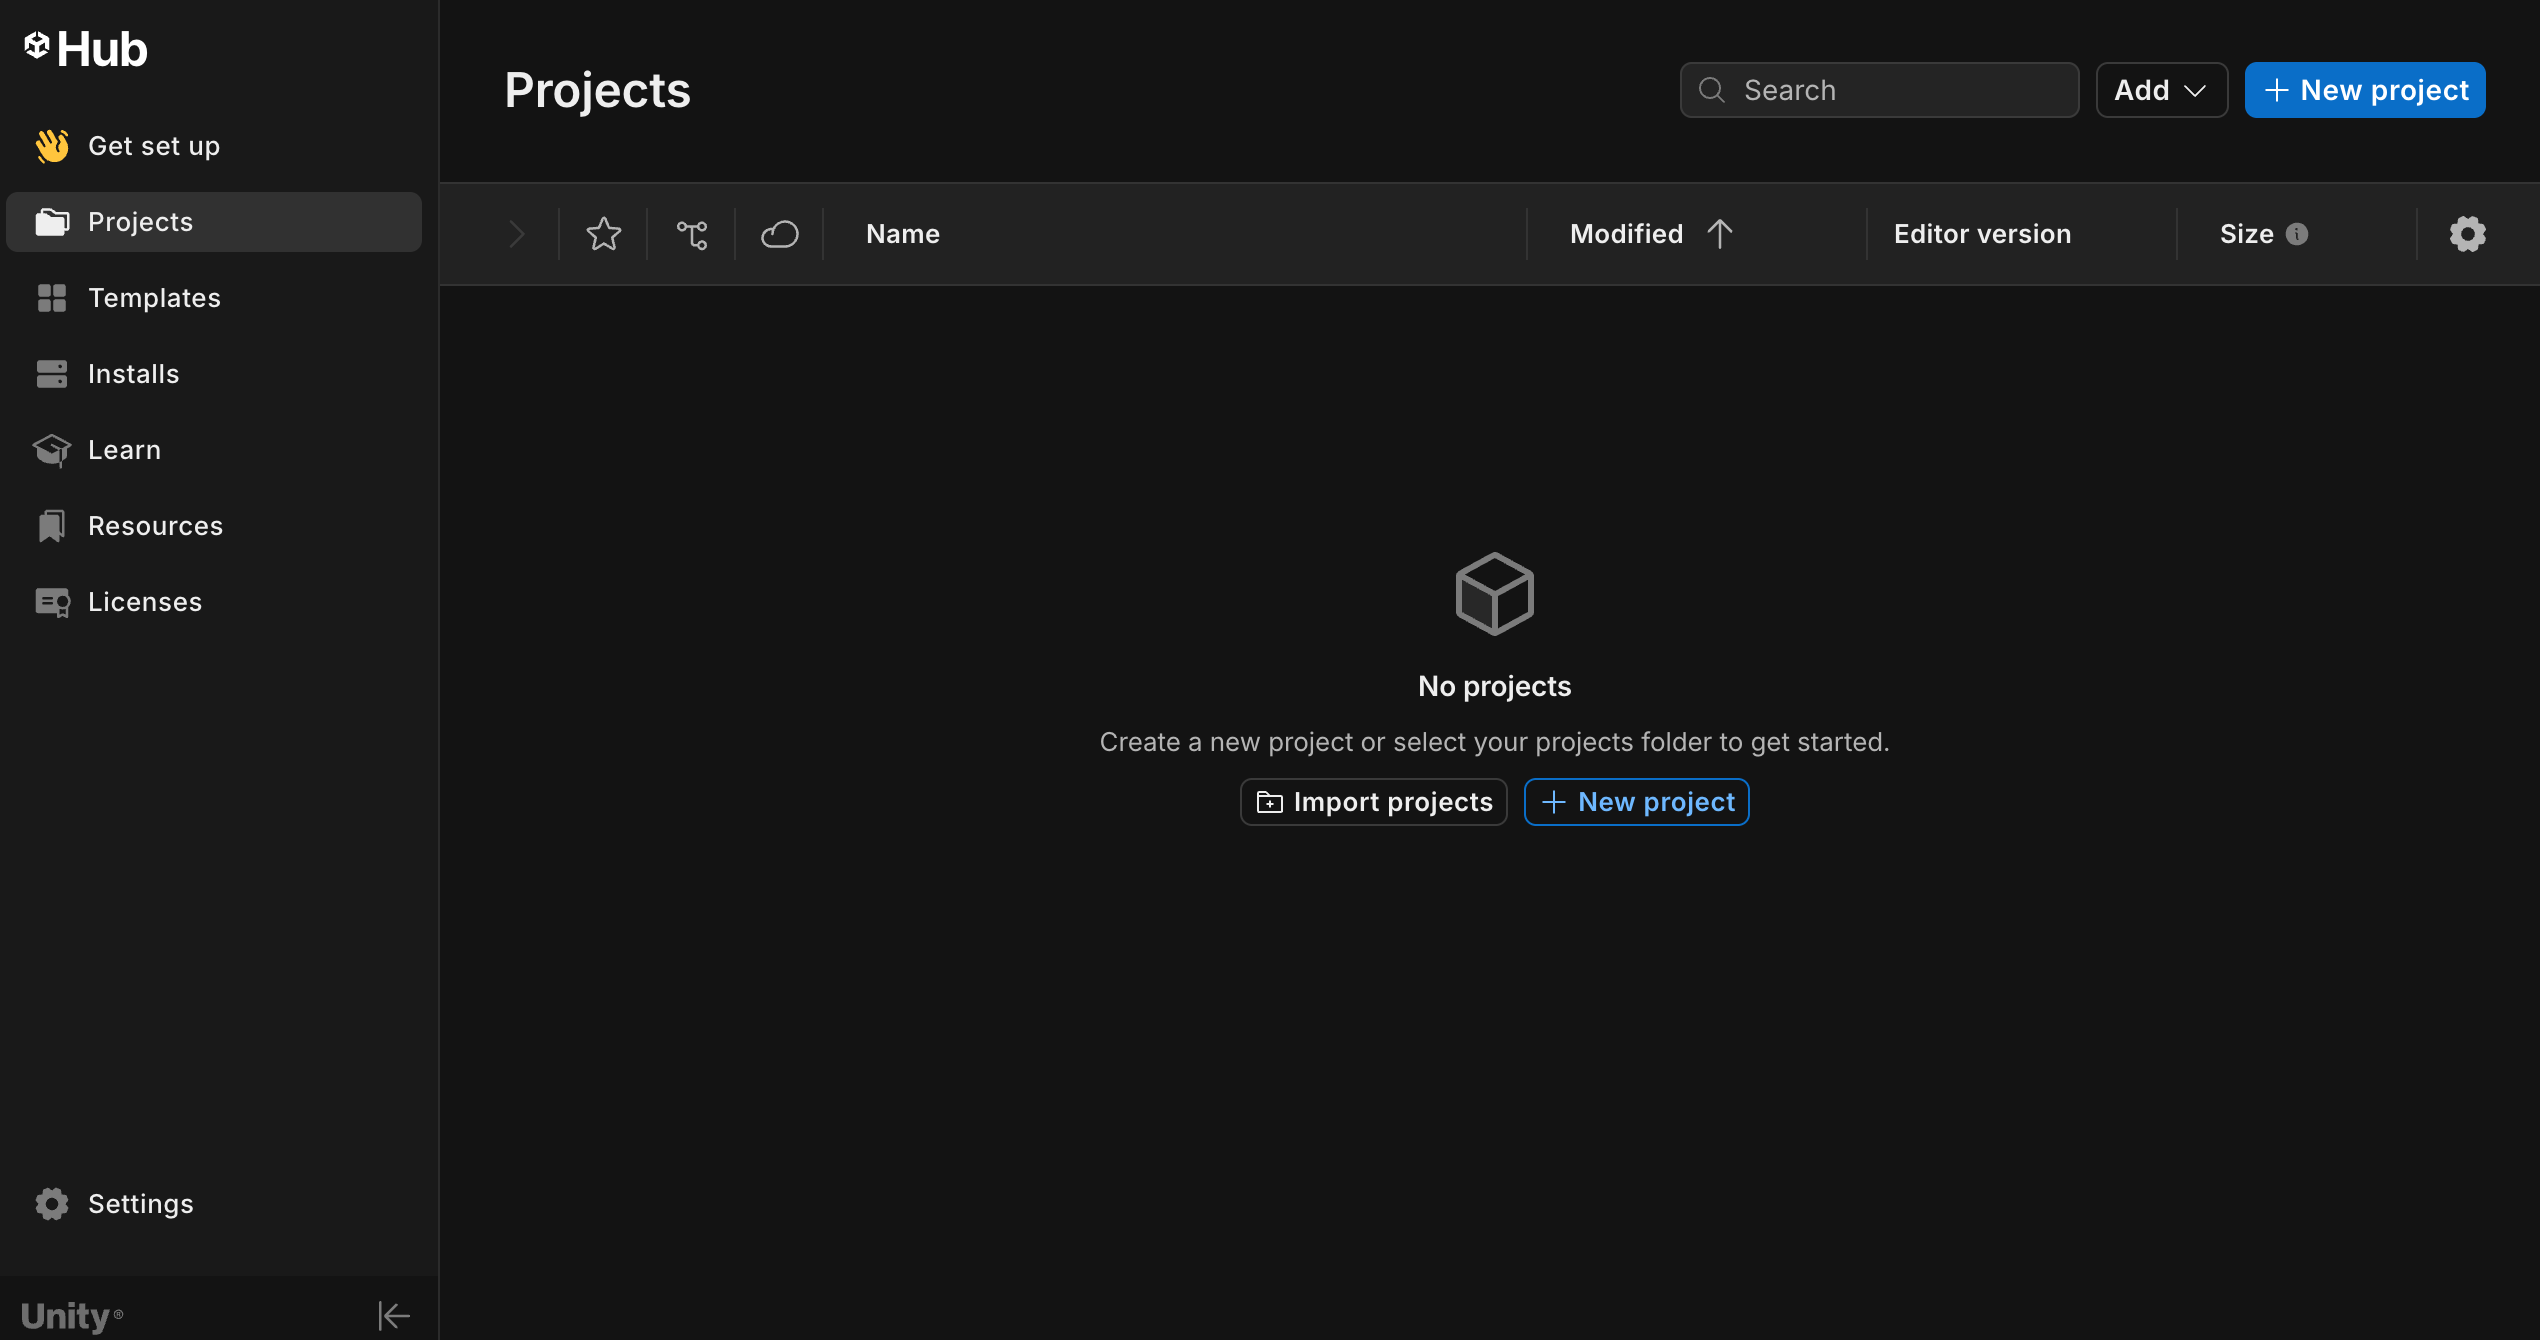
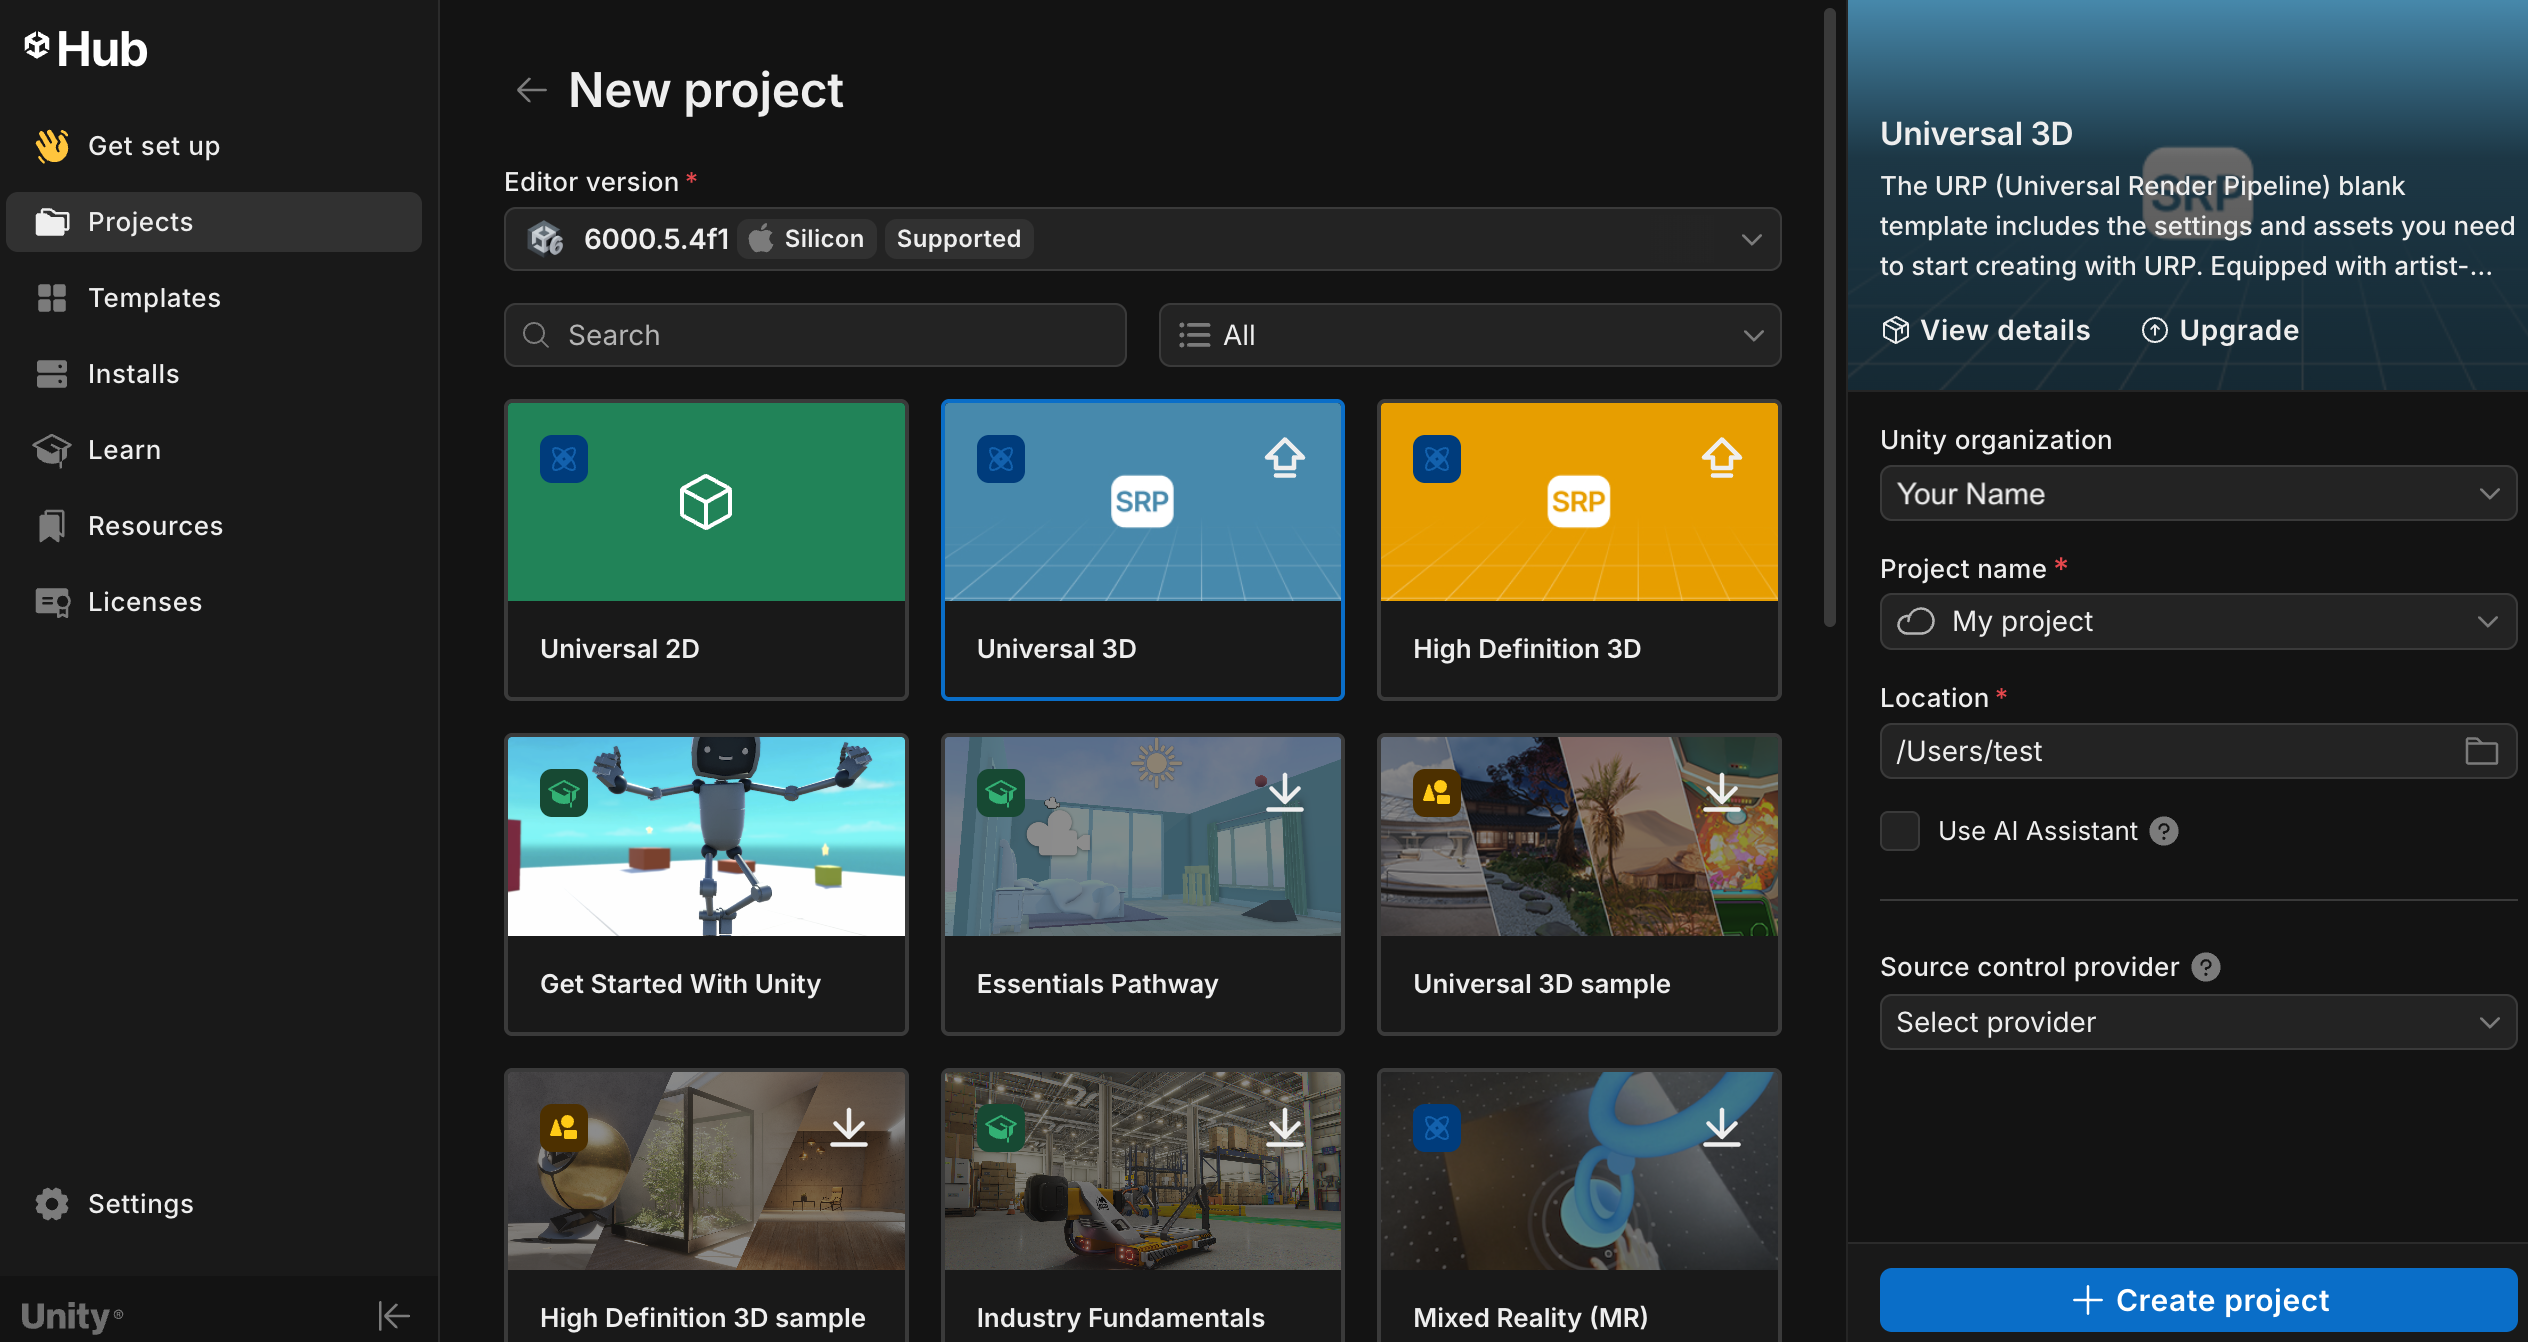
Press the "New Project" button. You'll then see a screen that looks like this. Choose the "Universal 3D" template.
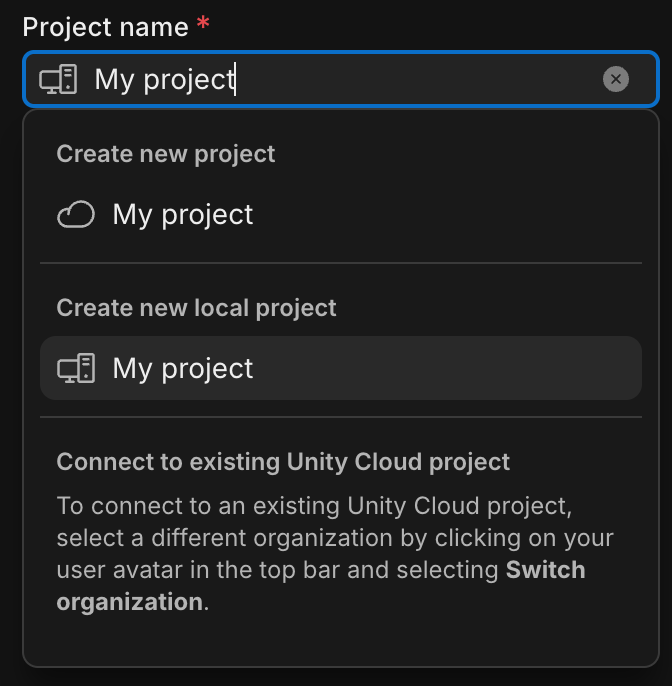
By default, Unity tries to create a Cloud-based project. You do not want this.. Click on "My project" and select "Create a new local project" then give it a name.
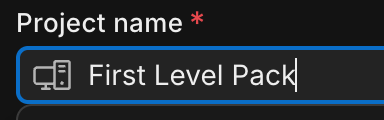
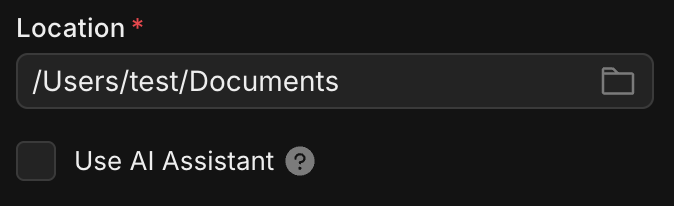
Choose where to save the project, and uncheck "Use AI assistant"
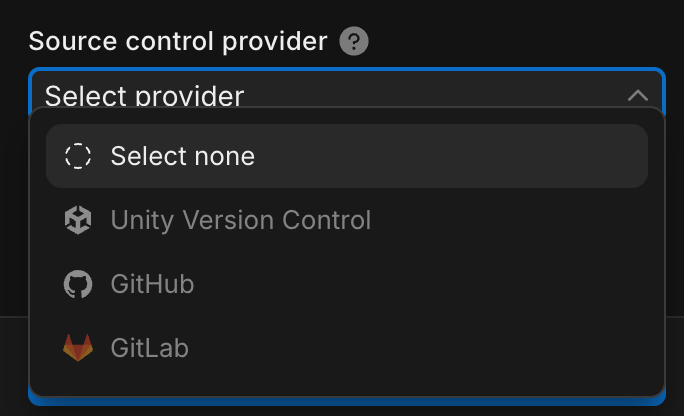
Under Source Control Provider, choose "Select None"
Now you can finally press "Create Project"
After Unity finishes loading, you'll be greeted with a screen that looks like this:
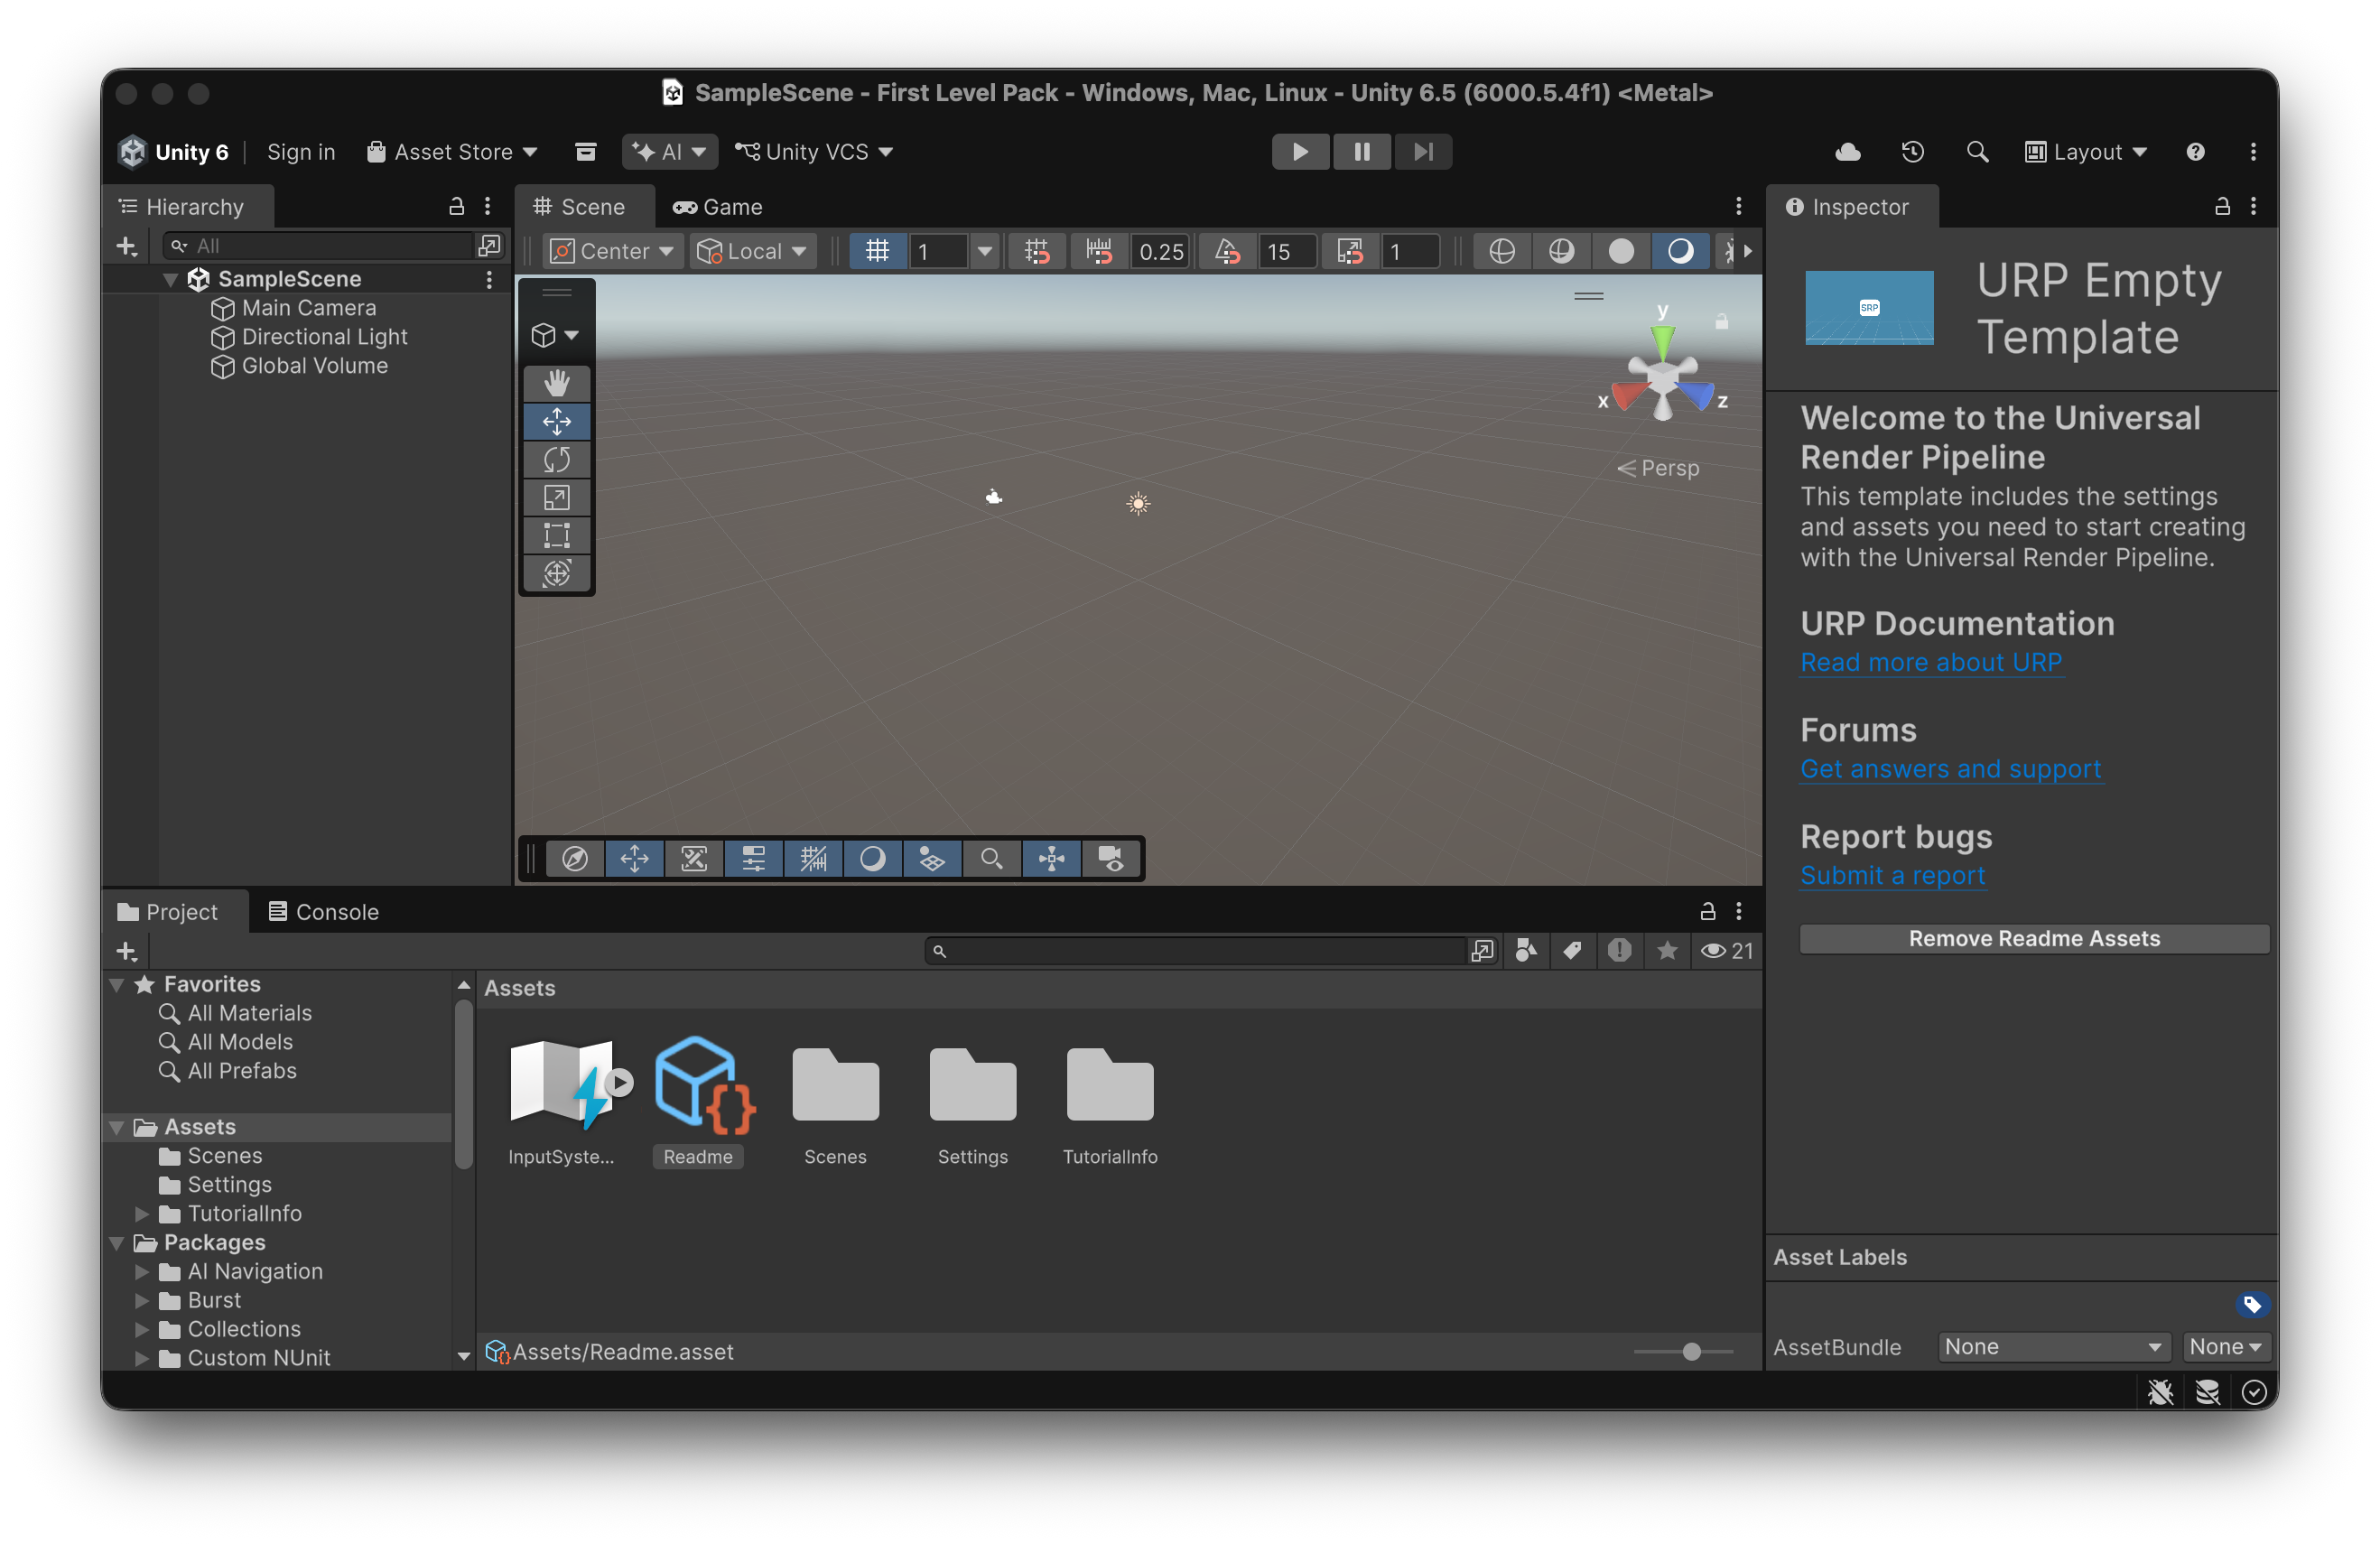
You are now ready to set up the project.
Your Unity project needs a couple of things set up before you can use it to create custom levels. It is important that you do these steps in the order they are written.
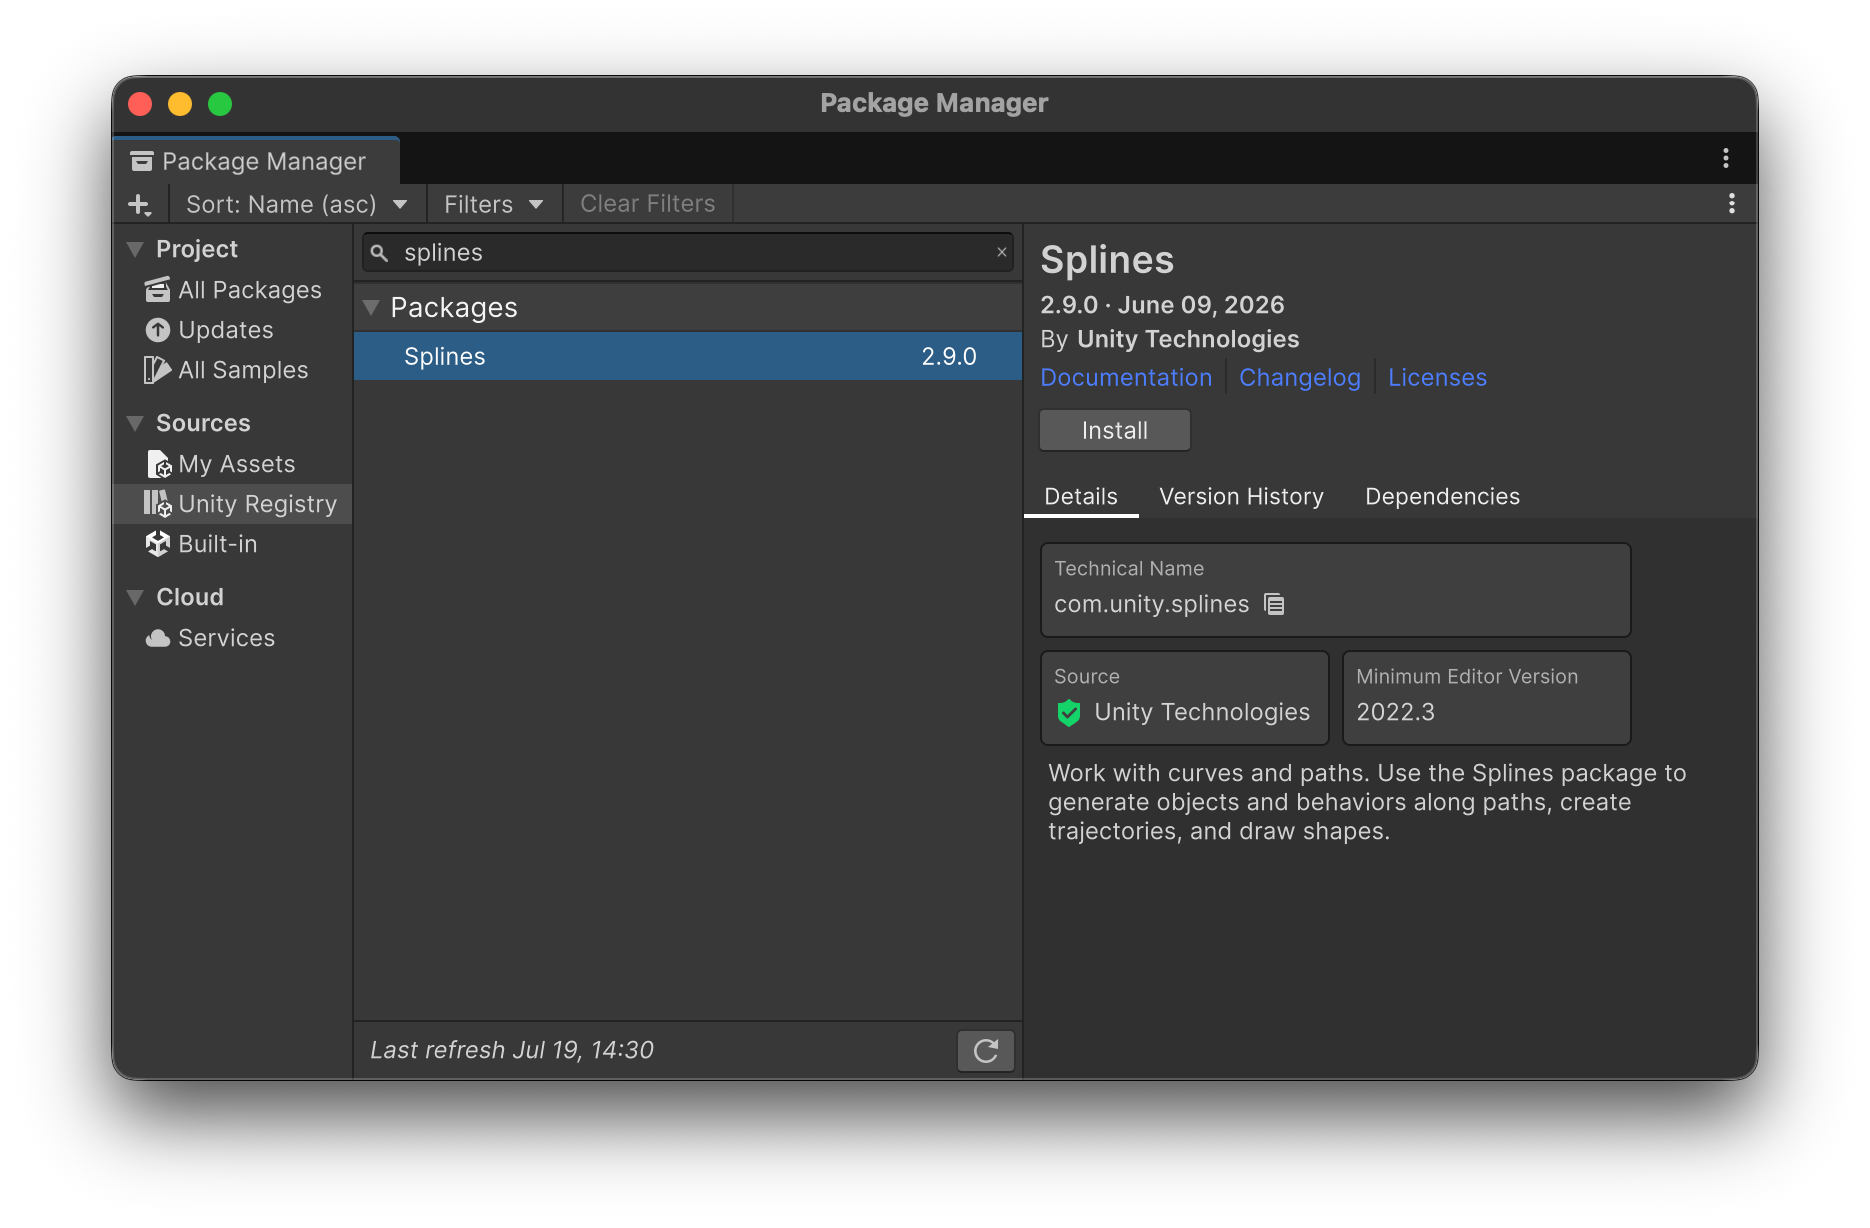
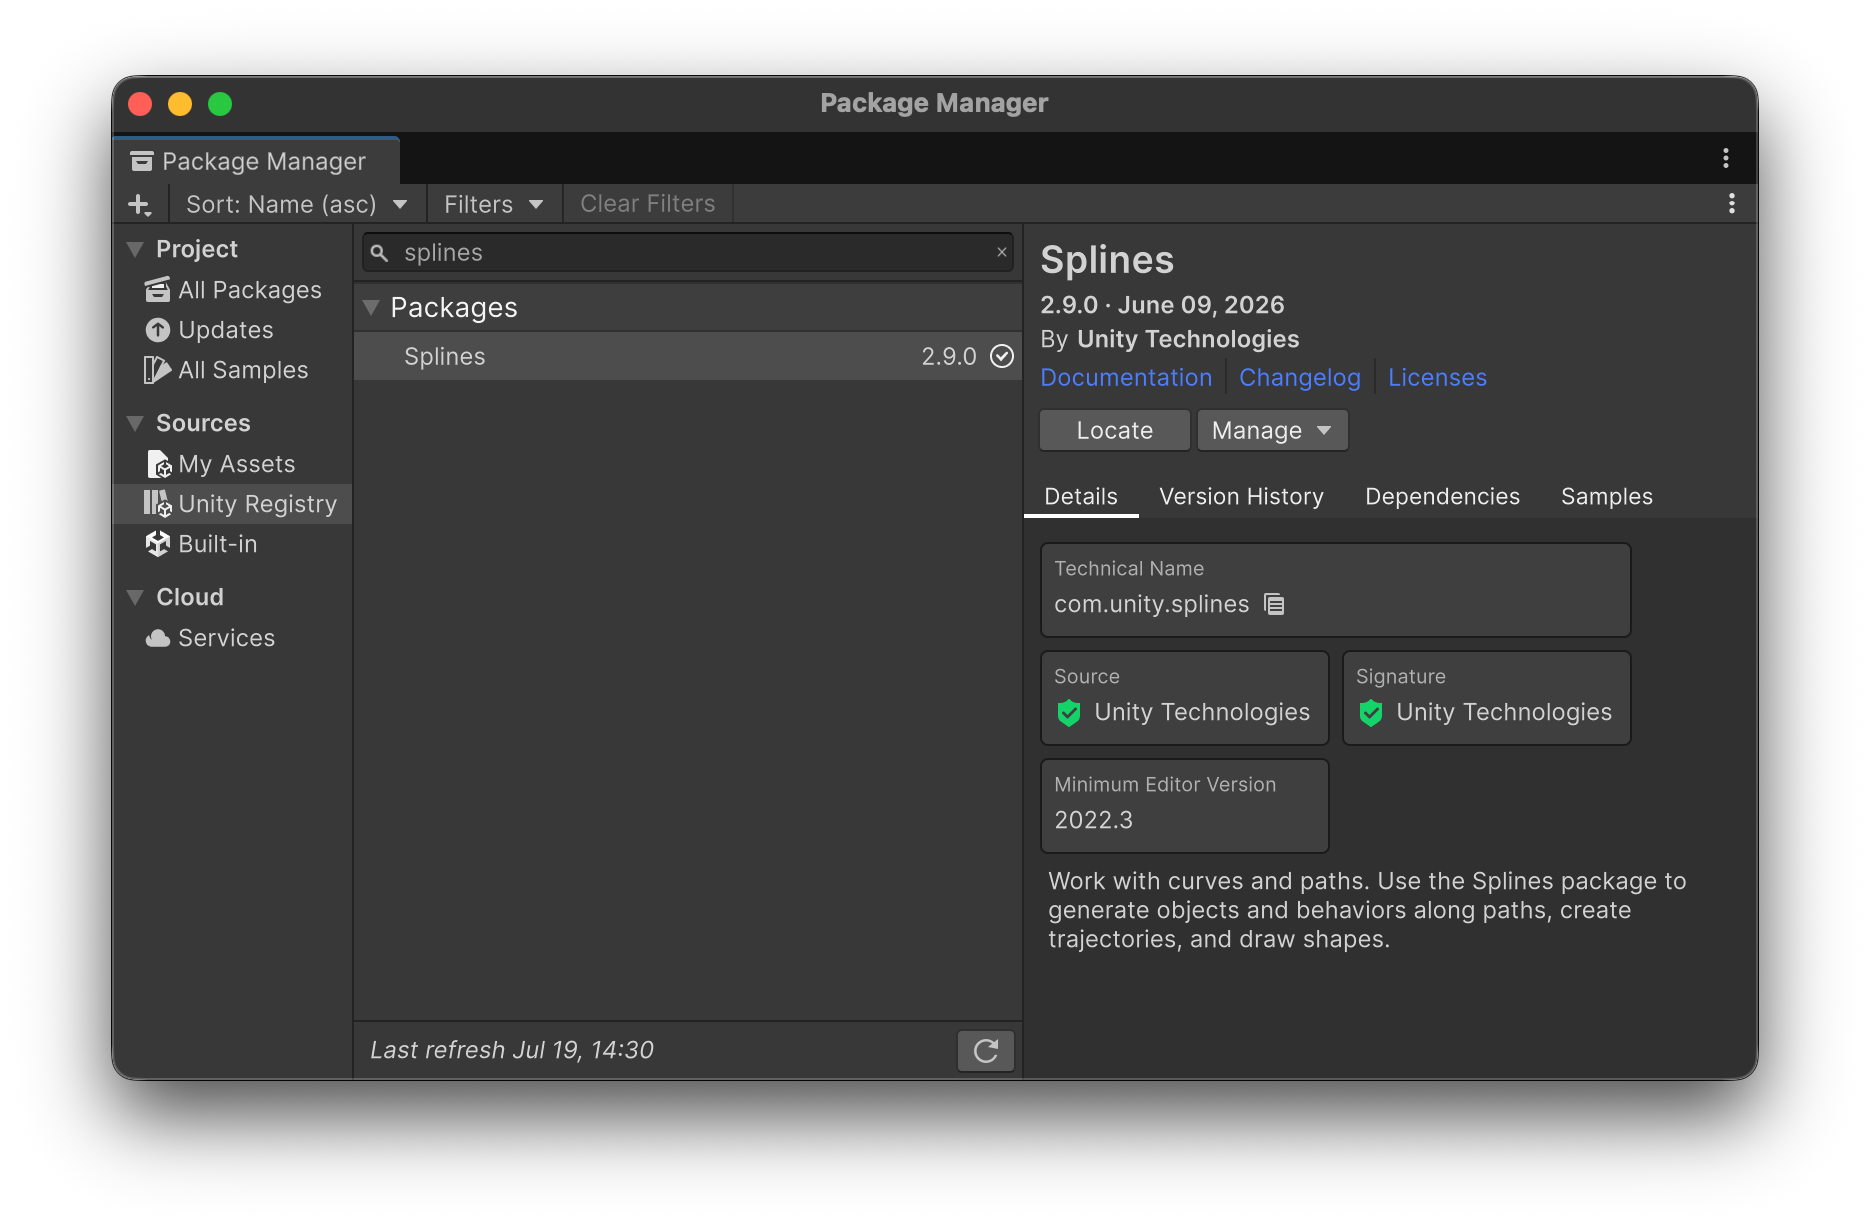
Download the Tankken Level Builder from the homepage here. You will get a file named TankkenLevelBuilder.unitypackage

Double-click the file, or drag it into the Project tab in the Unity editor. You'll see this window appear:
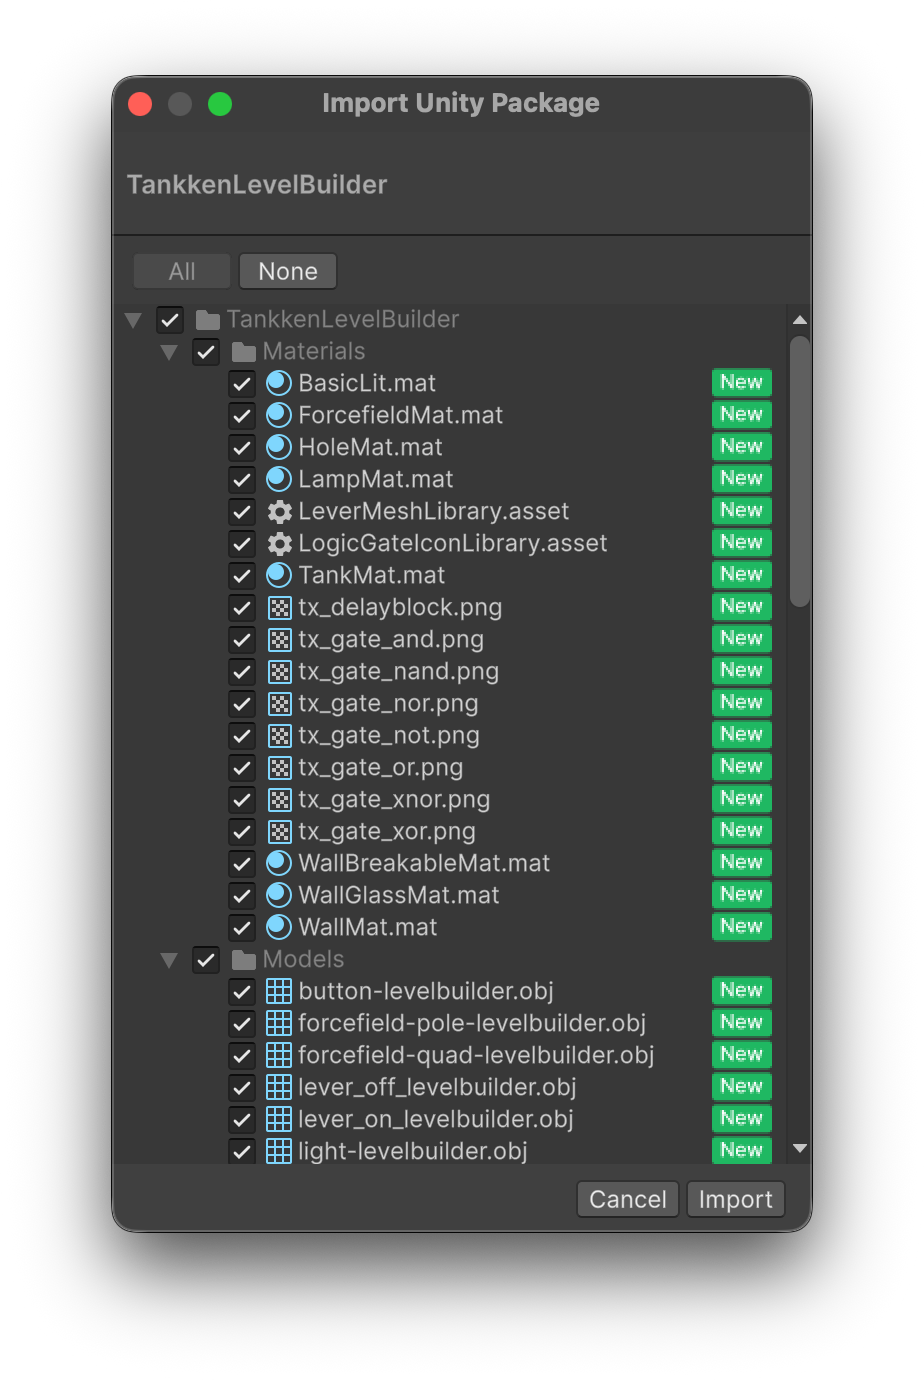
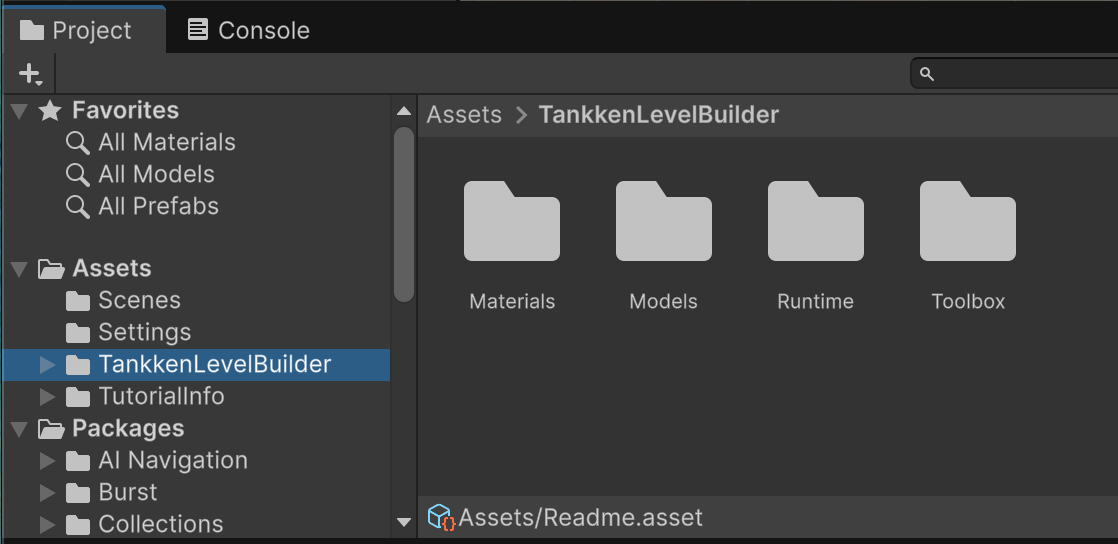
Leave everything selected, and press Import. When it completes, you'll see a new folder appear in your Assets folder:
Your Unity project is now all set up! You're now ready to start creating your first level pack.