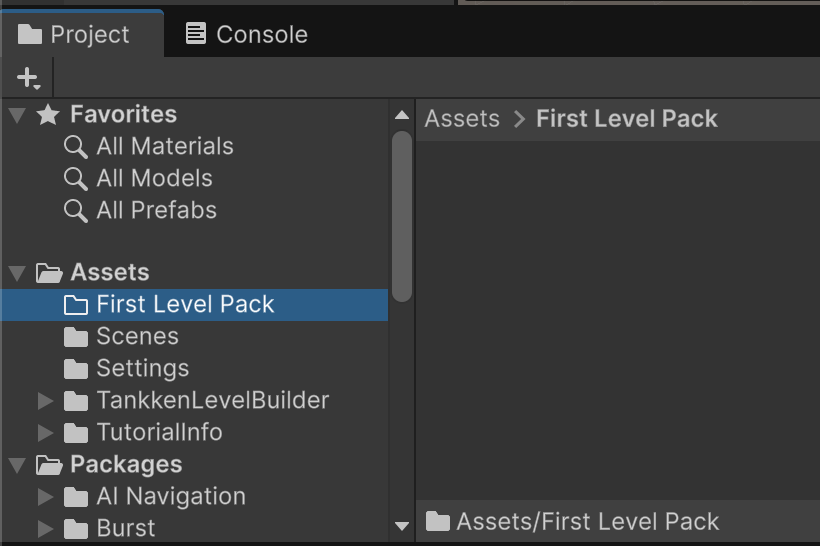
A given Unity project can contain multiple level packs, so it's good to keep everything organized. In the Project panel, right-click Assets > Create > Folder, then give the folder a name.
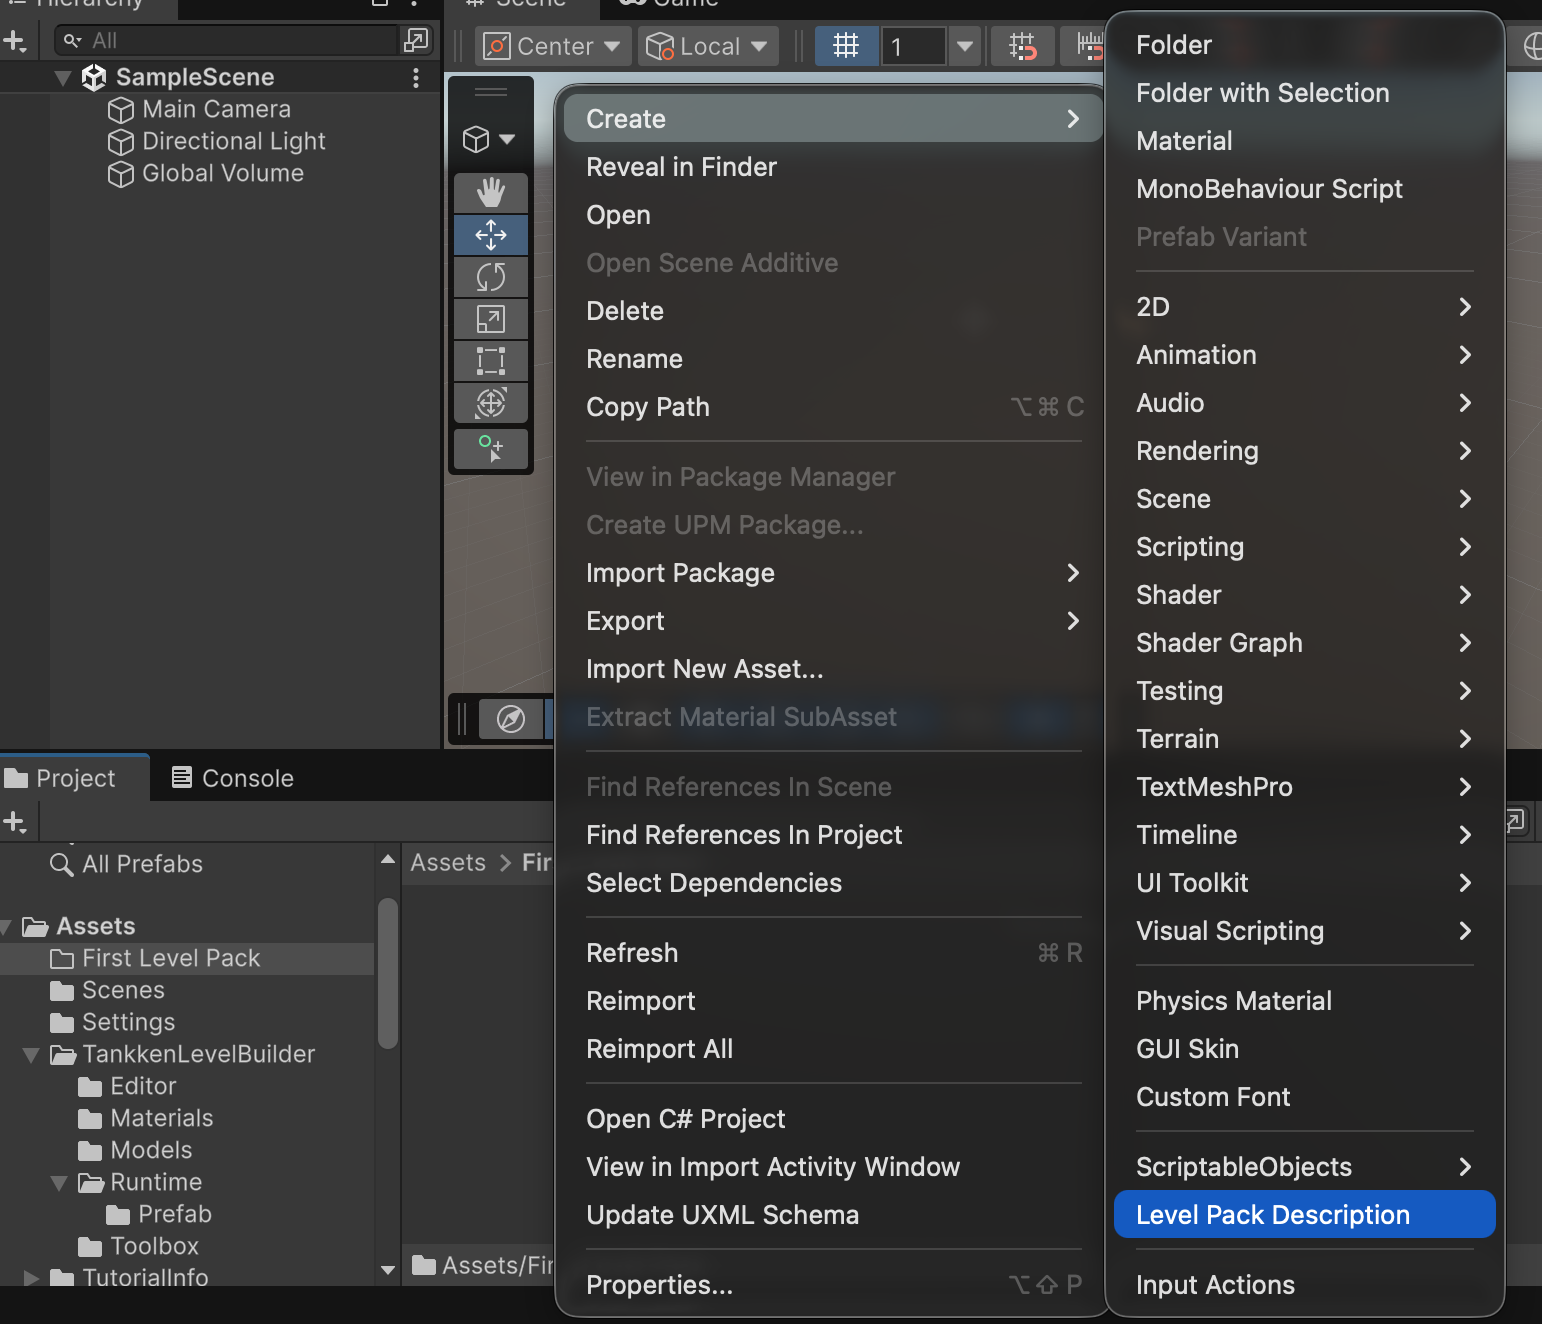
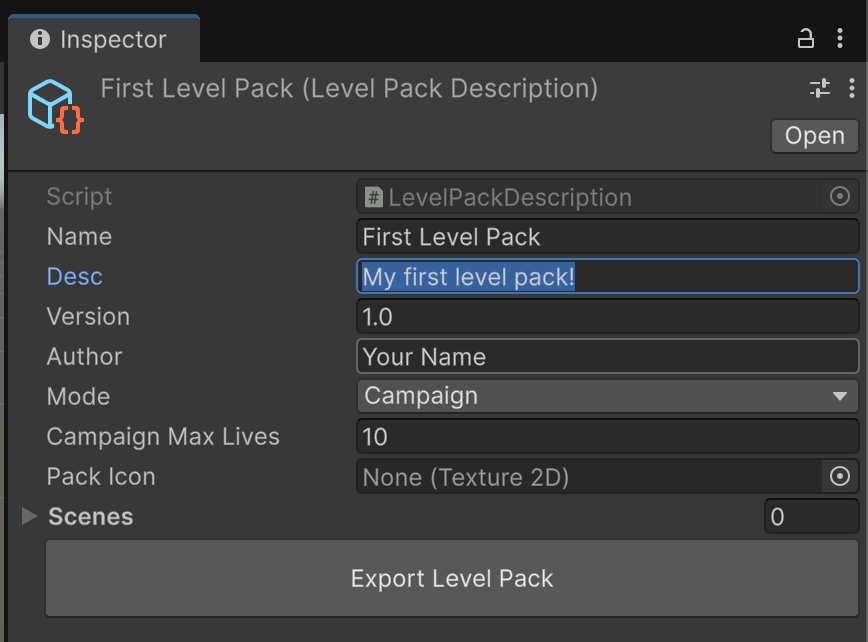
The Level Pack Description asset allows you to specify information about your level pack, such as the name, description, and game mode.
Right-click your new folder, press Create > Level Pack Description, and give the new asset a name.
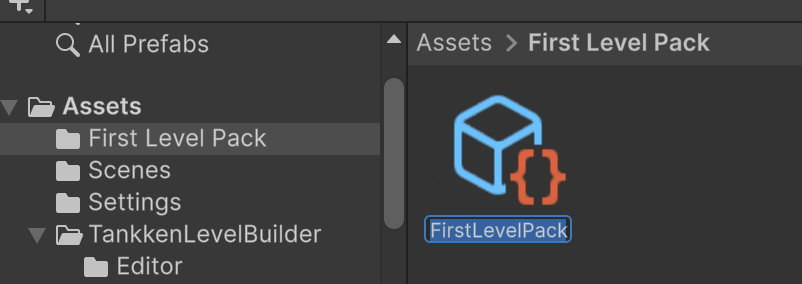
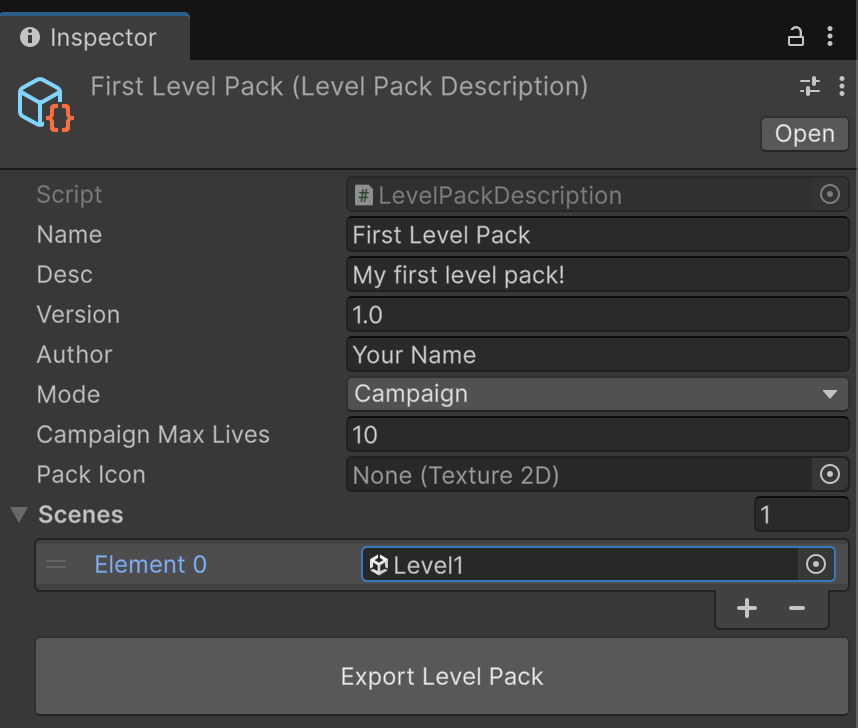
Click on the newly created Level Pack Description asset, and fill out the information. We're creating a Campaign level pack, so make sure "Mode" is set to Campaign.
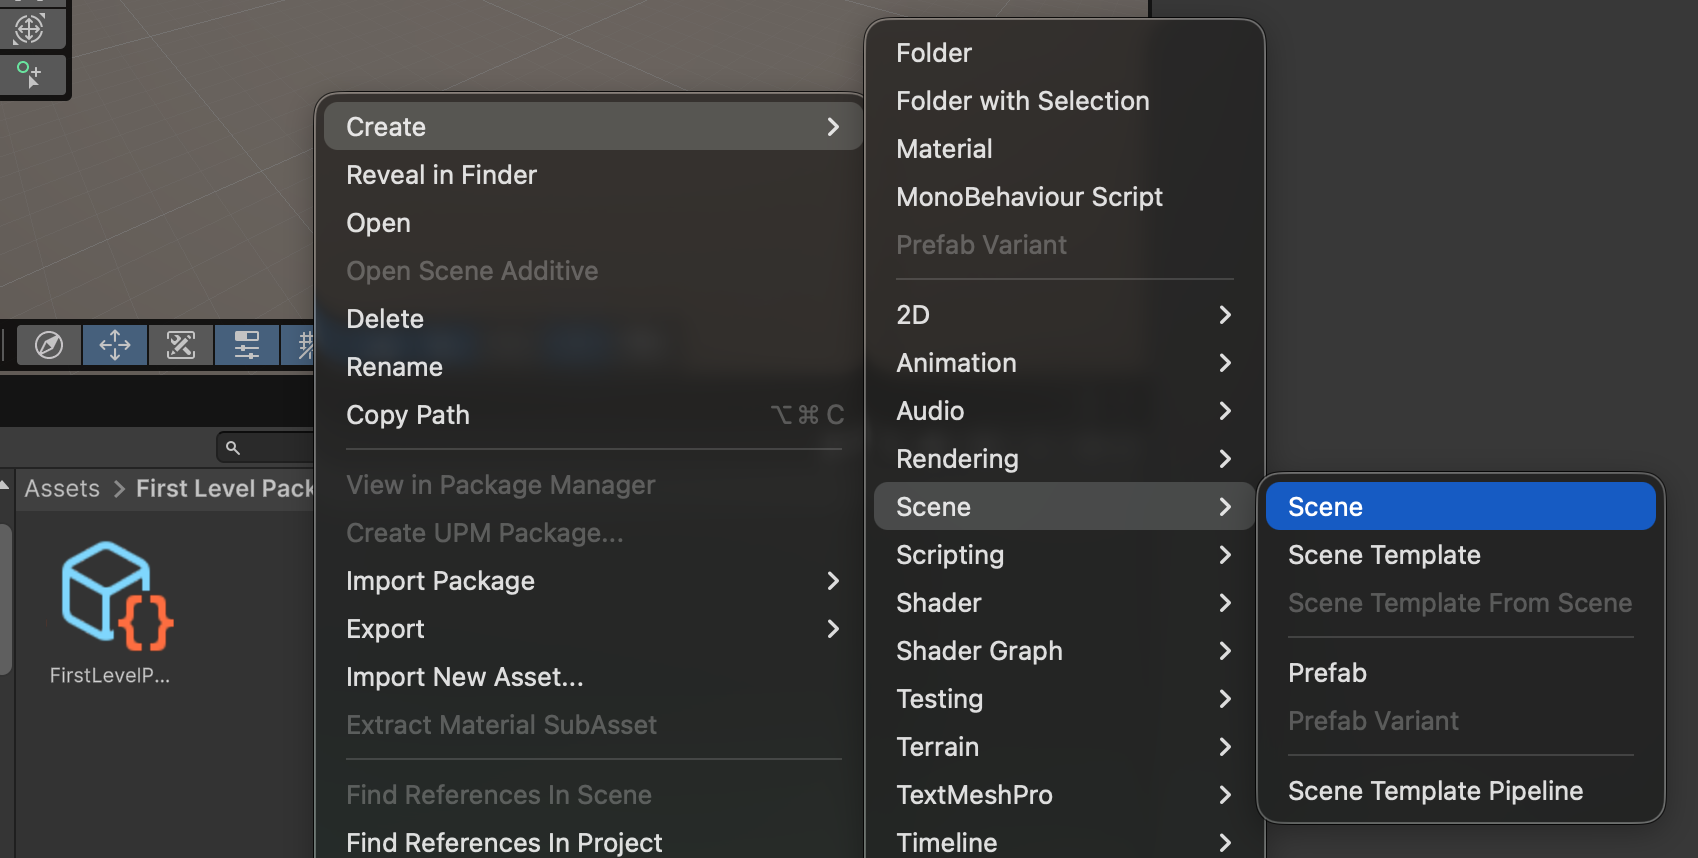
Level pack levels are authored in Unity scenes. Right-click your folder, and press Create > Scene > Scene.
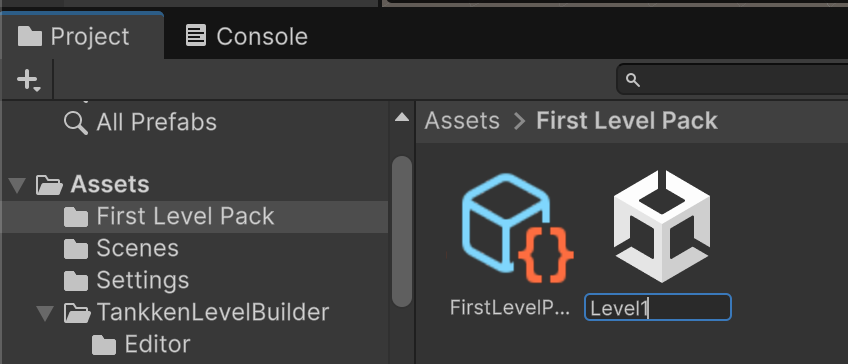
Then give your new scene a name.
We have a new scene, but our Level Pack doesn't know about it yet. Click on your Pack Description asset to open its inspector again. Expand Scenes, and click the + button.
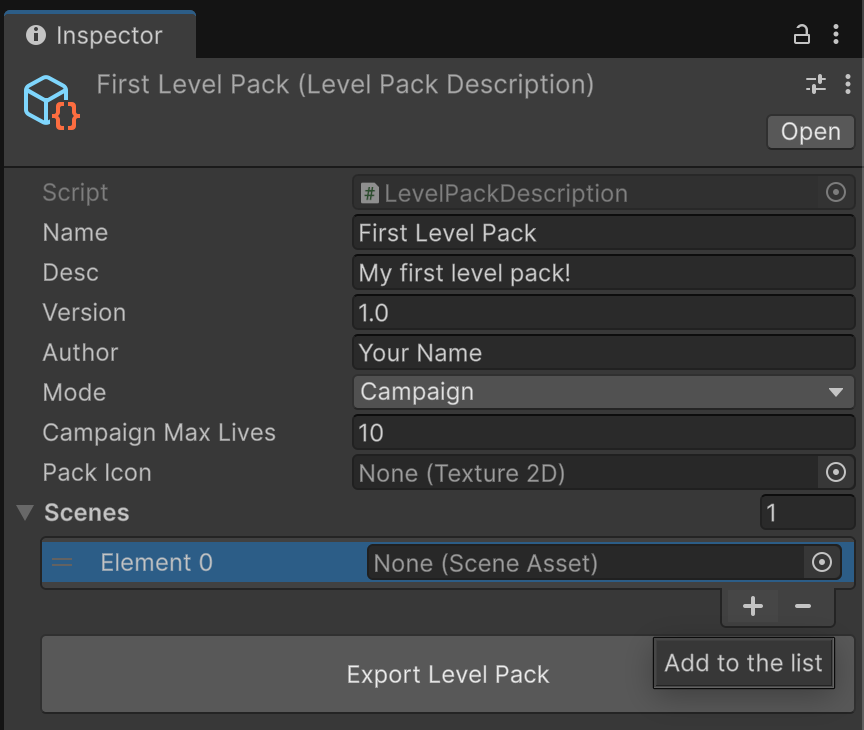
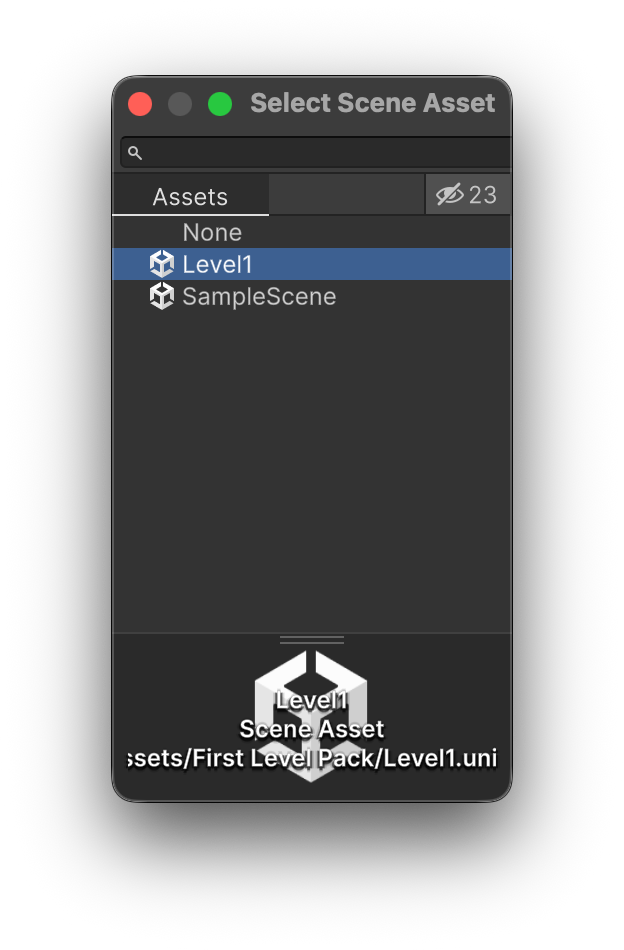
At the end of the new row that was added, there's a small circle button with a dot in it. Press that, and a pop-up window will appear. Choose the new scene you created.

If you have done everything correctly, your Level Pack Description will now look like this:
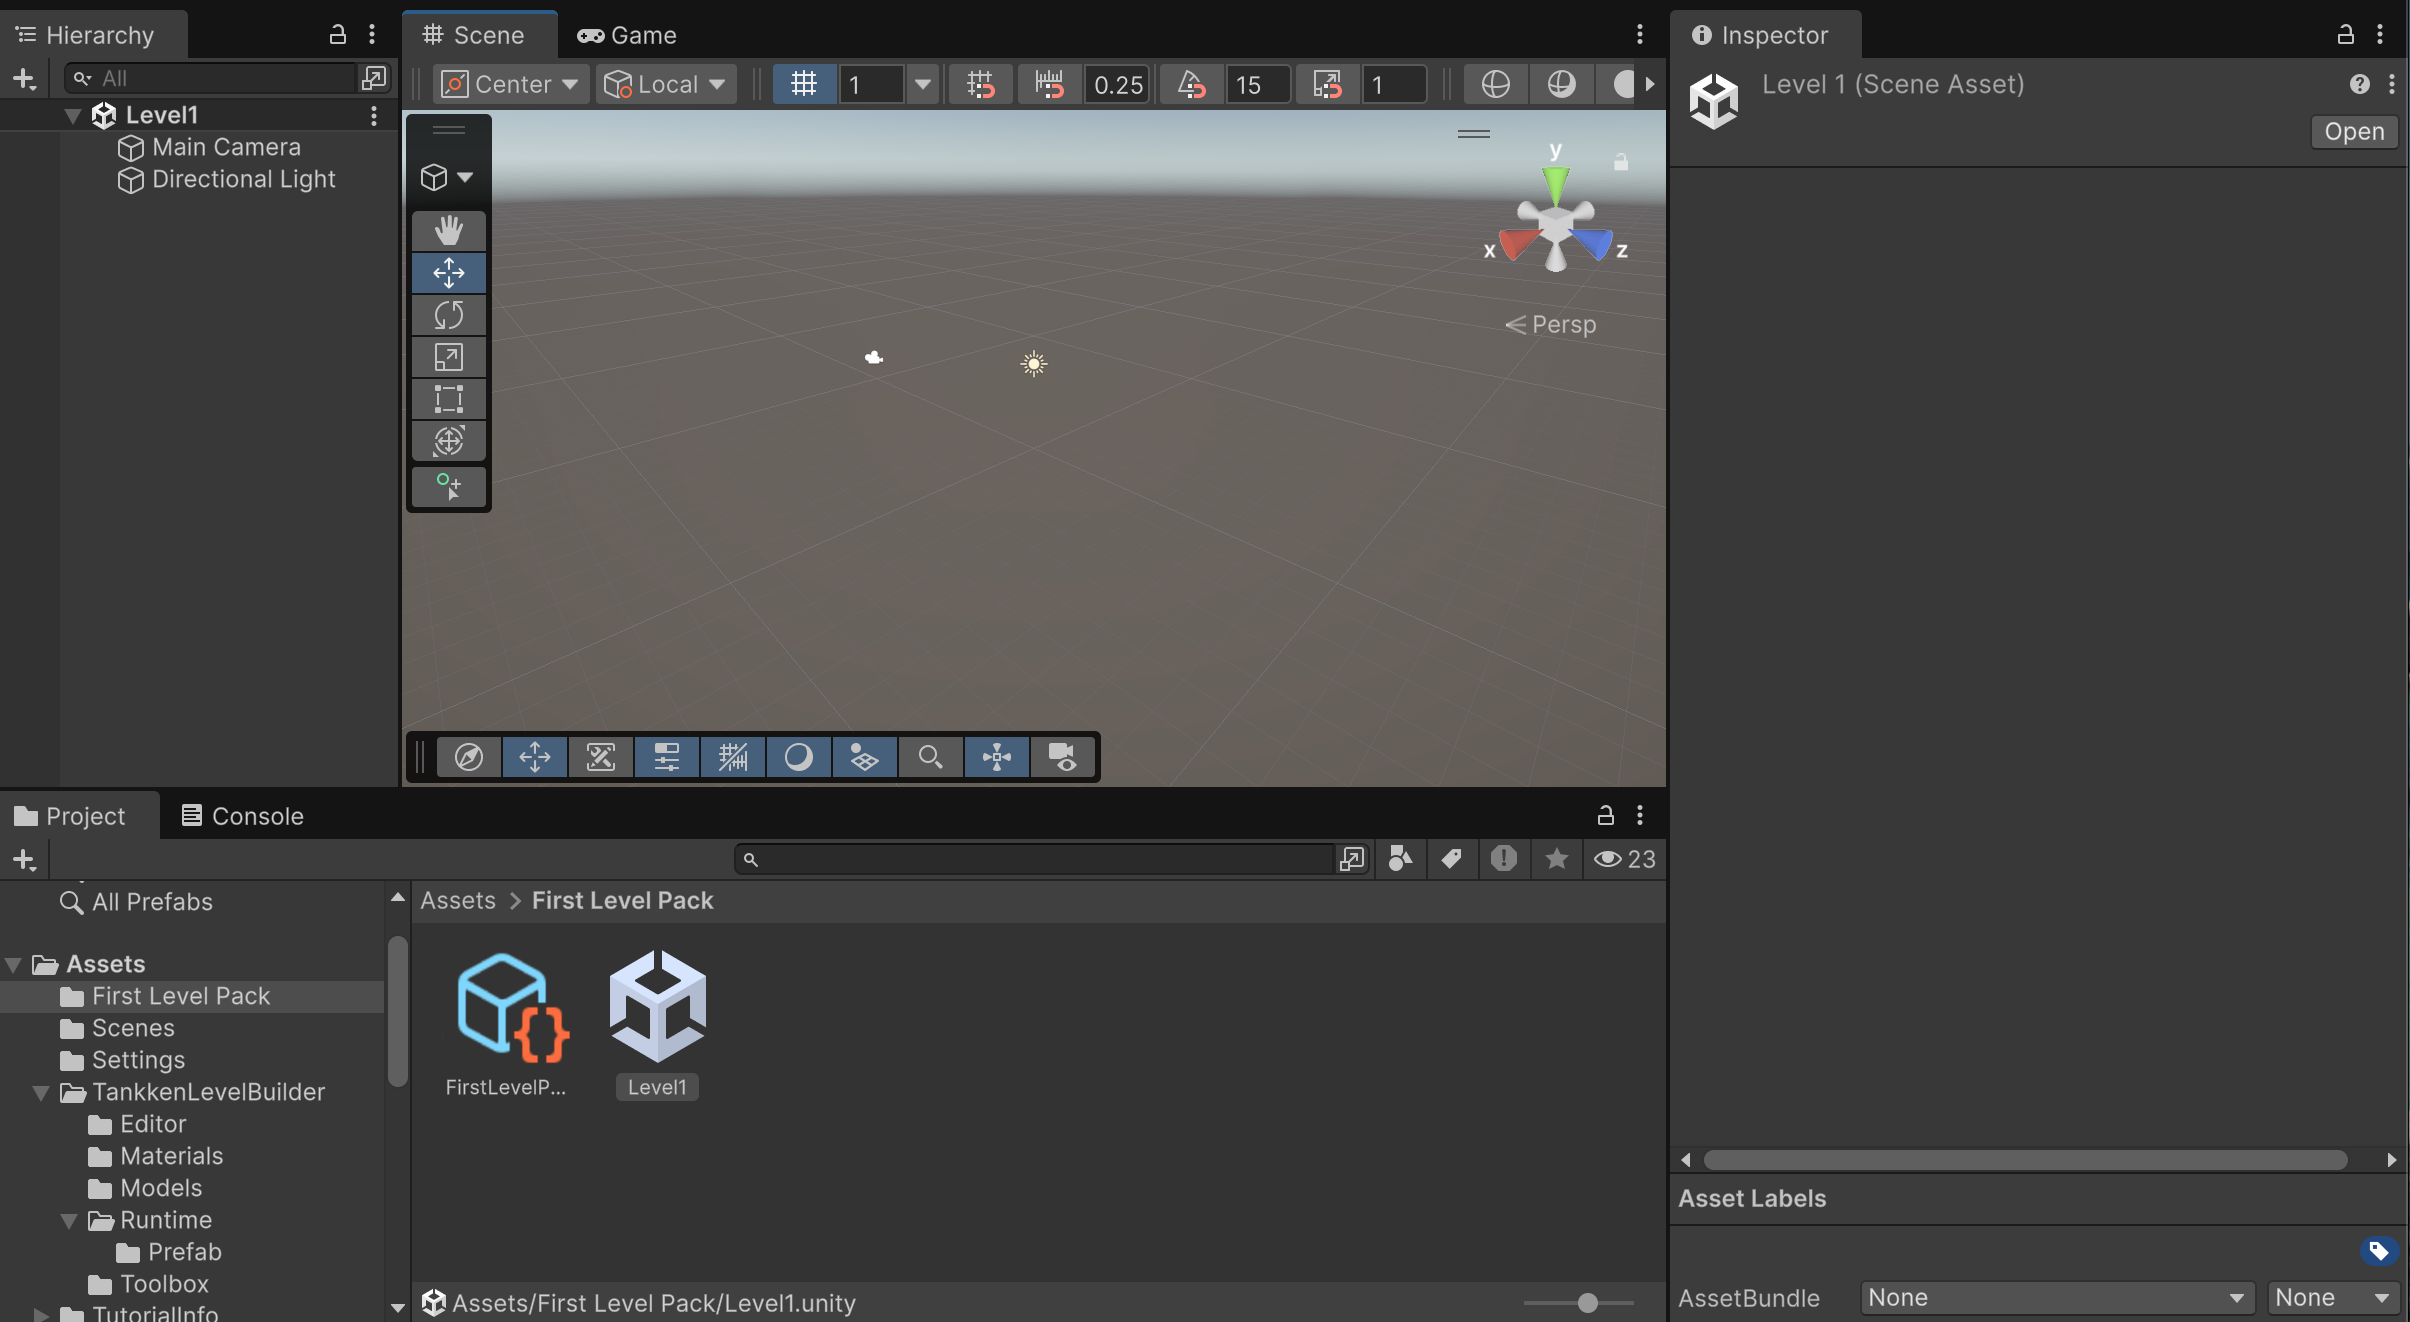
Begin by double-clicking the new scene you created to open it. At first, you won't see much.
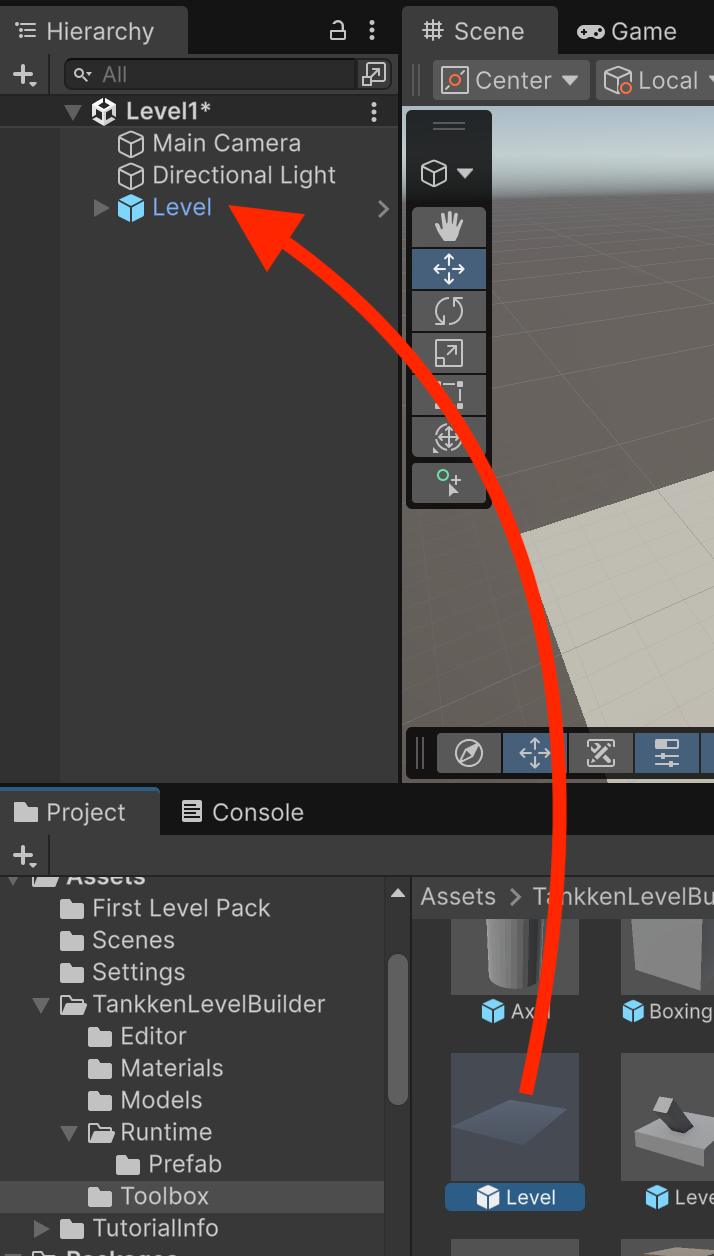
In the Project panel, open the TankkenLevelBuilder folder, then click on Toolbox. Find the prefab named Level, and drag it into the Hierarchy as shown.
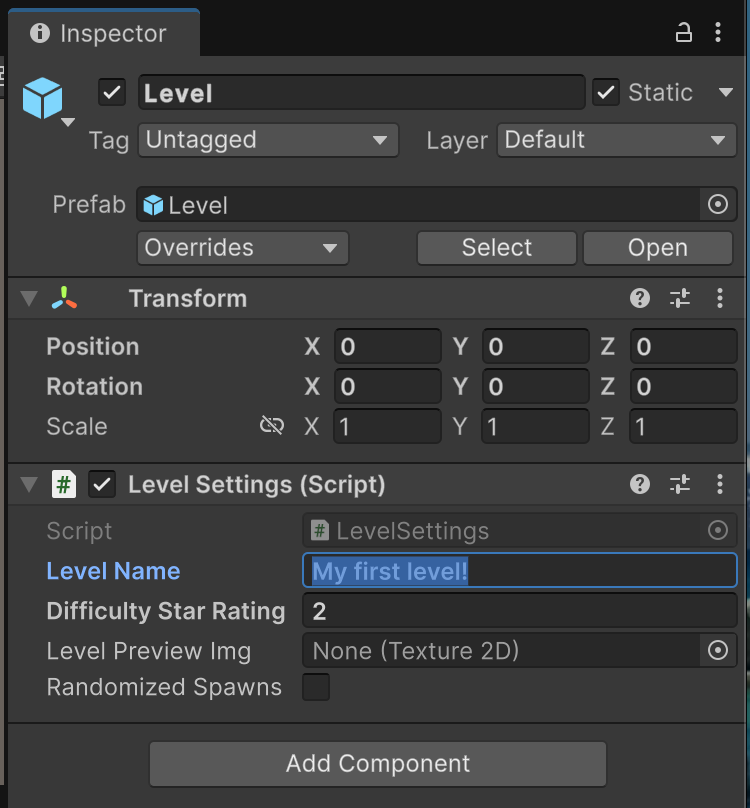
You'll see a flat plane appear. Select the Level prefab in the hierarchy, and underneath the Transform, you'll see an entry named Level Settings. These values enable you to control how the level appears in the in-game level chooser. Edit the Level Name field to set the level's in-game title, and since this will be an easier level, set the difficulty star rating to 2. Leave the other options as they are.
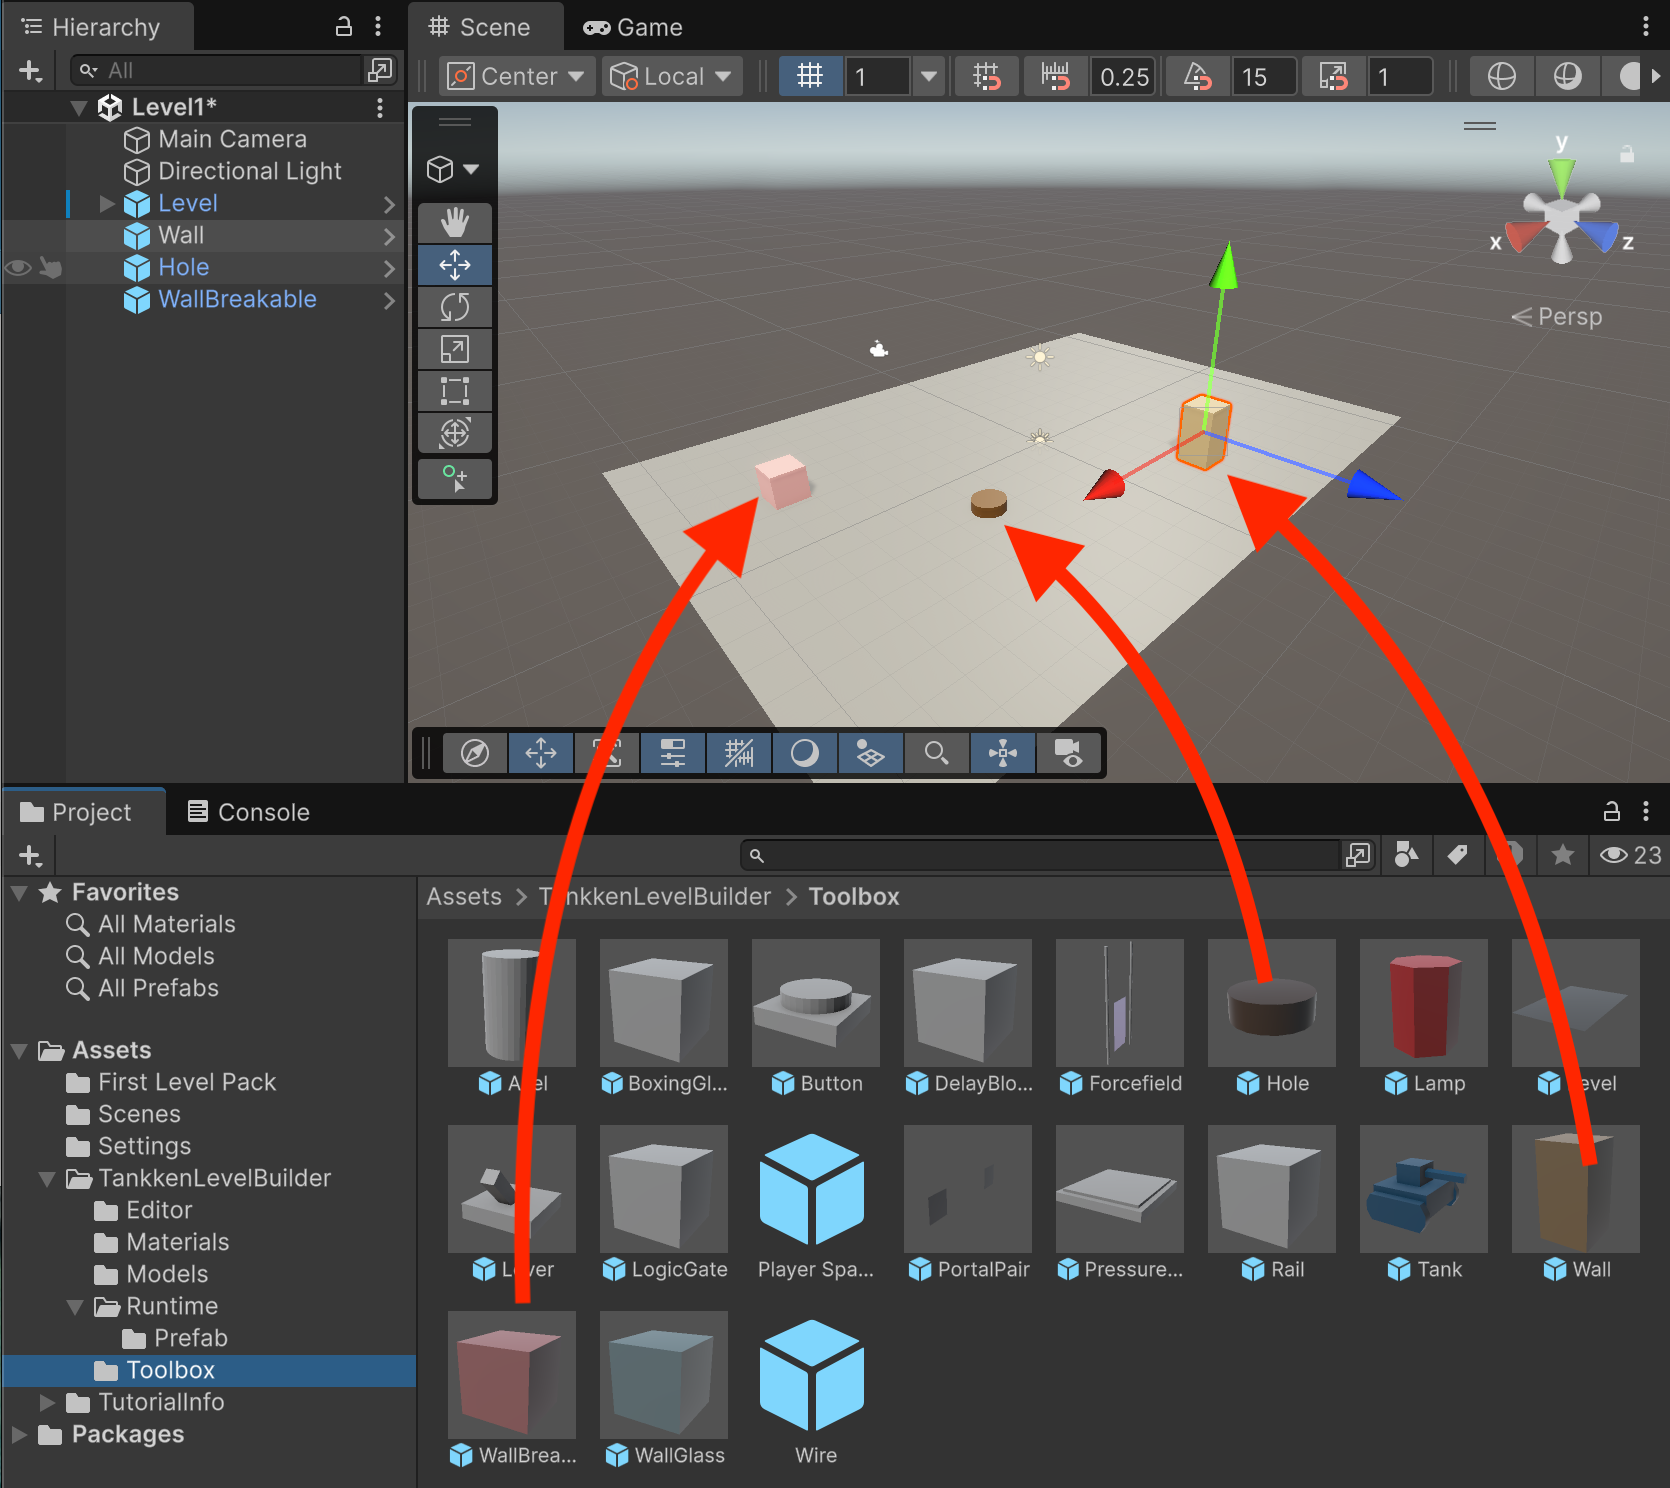
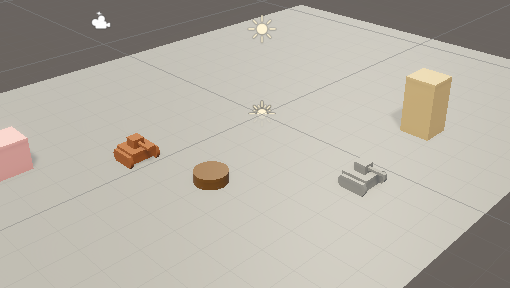
Let's add some elements to our level. The Toolbox folder contains all the elements you can add to your level. Drag a Wall, Hole, and Breakable Wall onto your level.
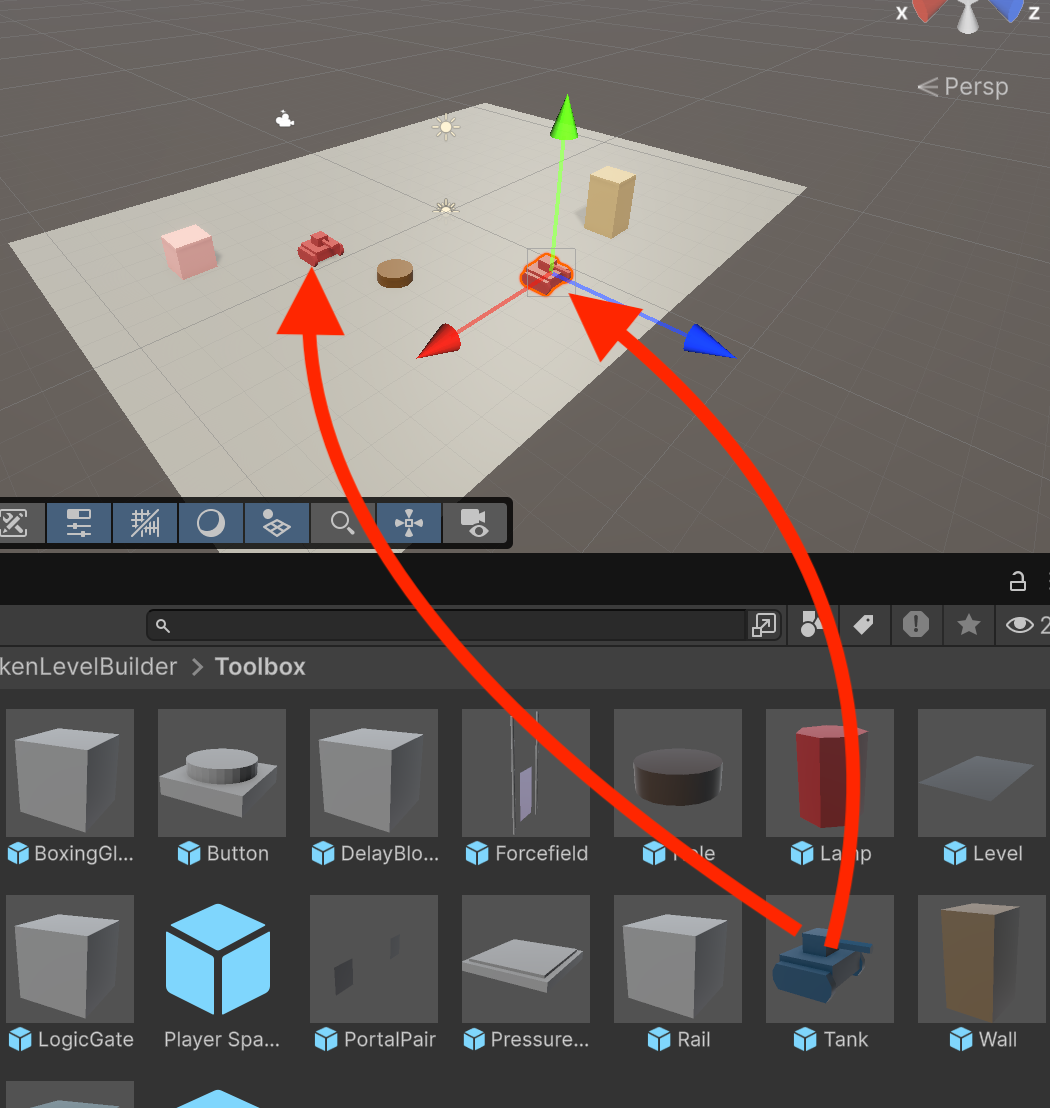
Since this is a campaign stage, we also need to put some enemy tanks down. Drag a couple Tank prefabs onto the field.
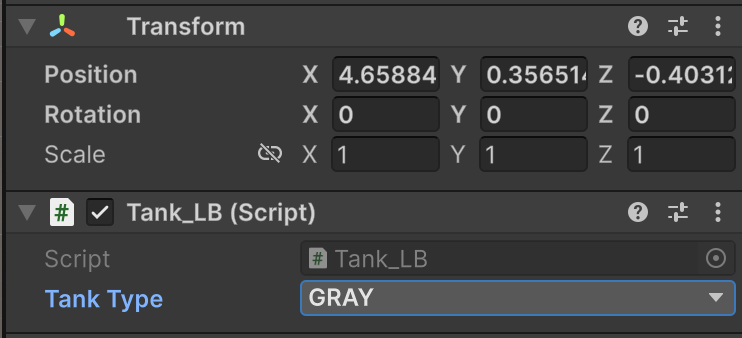
Next, set the Tank types. Select both tanks, and under the Tank_LB entry, change Tank Types to BROWN and GRAY. Make sure none are set to PLAYER. You'll see their colors update in the scene.
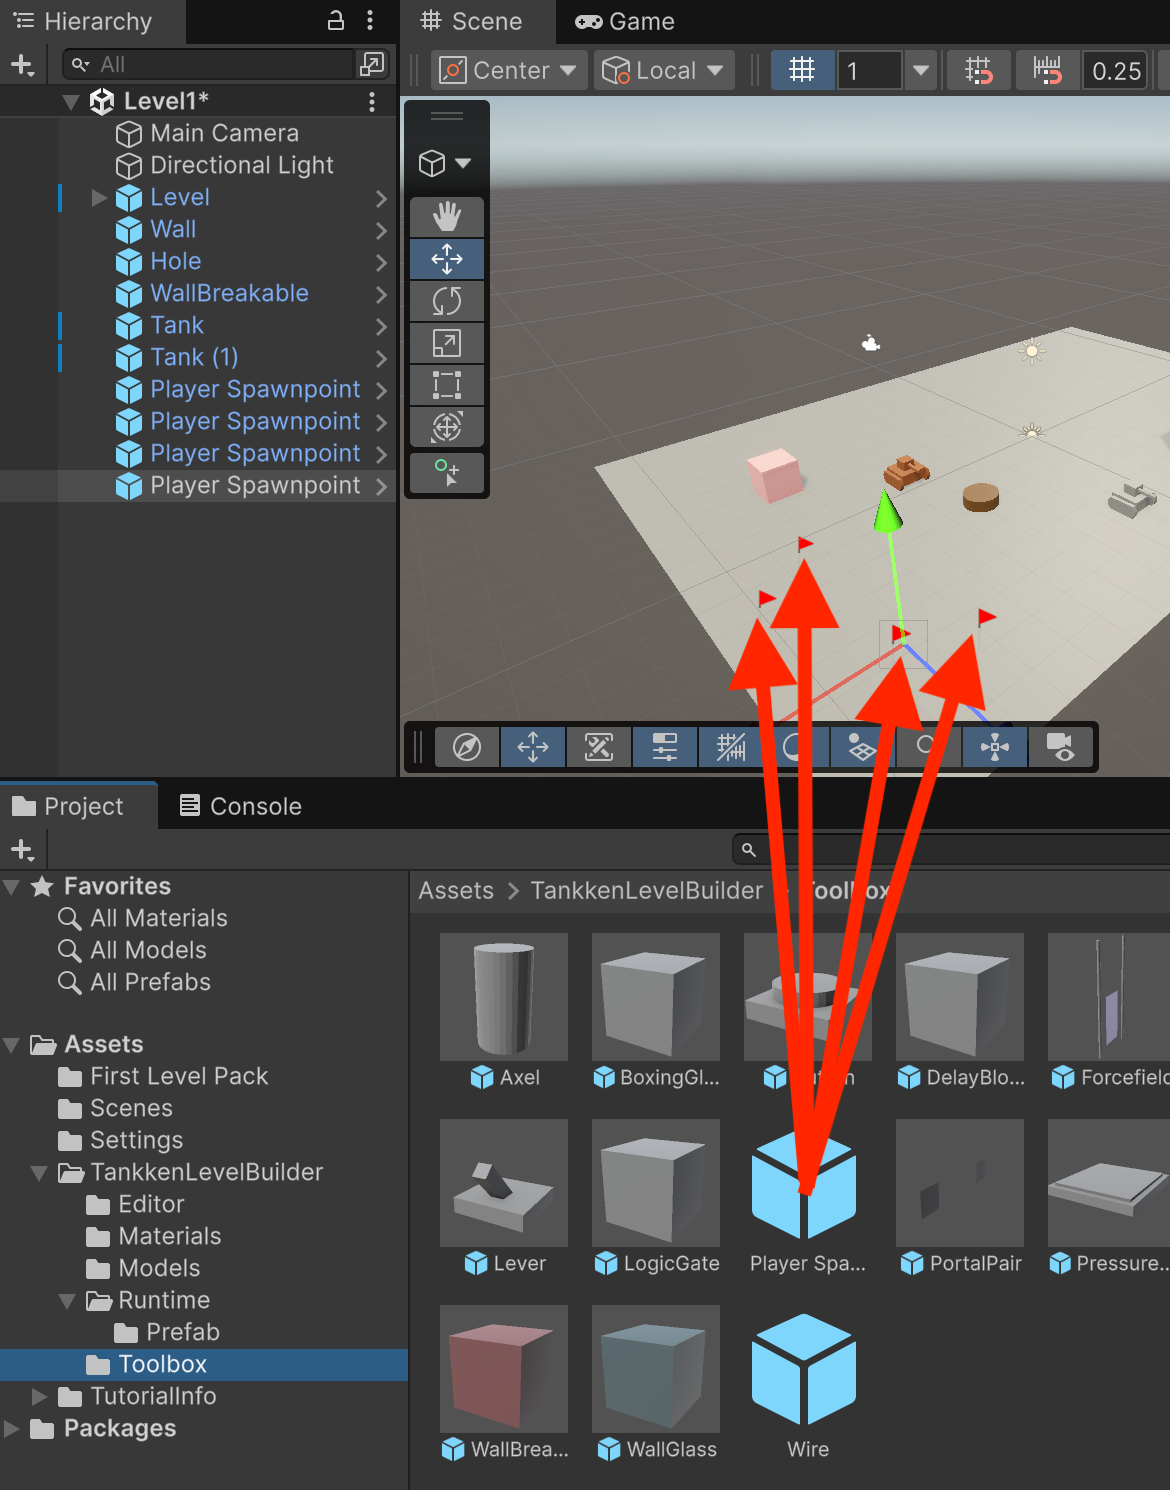
We have one last thing left to do. We still haven't told the game where players should spawn in when the level is loaded. In the Toolbox, drag four Player Spawnpoint prefabs onto the field. They appear as little red flags. You must have four spawnpoints in every level, because the game supports up to four players at a time.
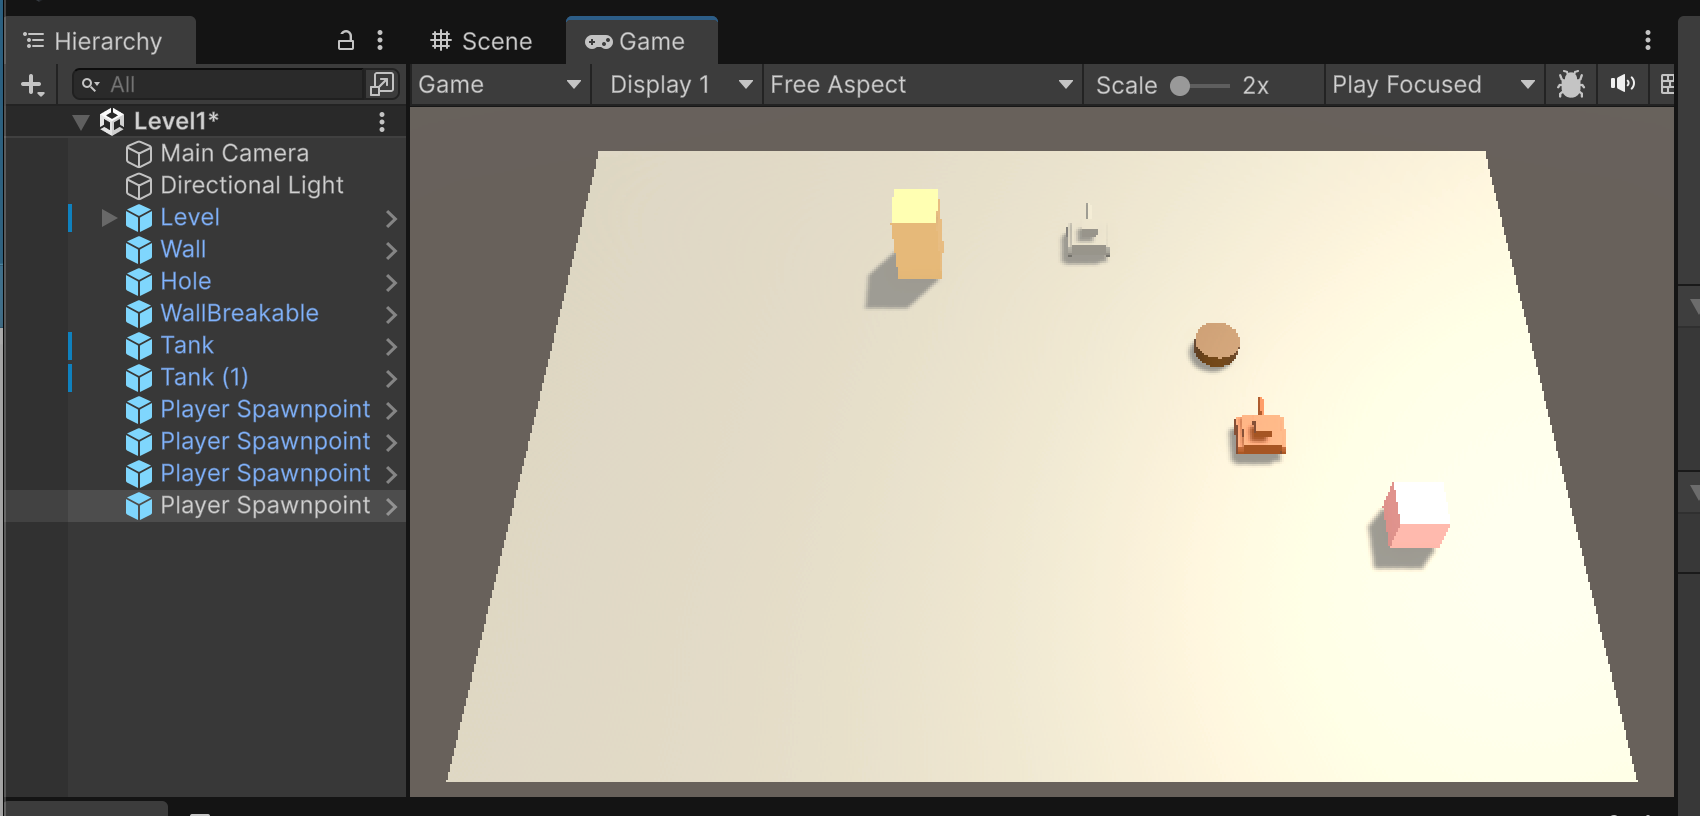
Let's look at our level. Next to the Scene tab at the top of the Unity window is a tab labeled Game. Click it to view a simulation of what the level will look like when played in-game.
Save your scene!. Now you are ready to test this level pack in-game!
Find your Level Pack Description asset from earlier and select it.
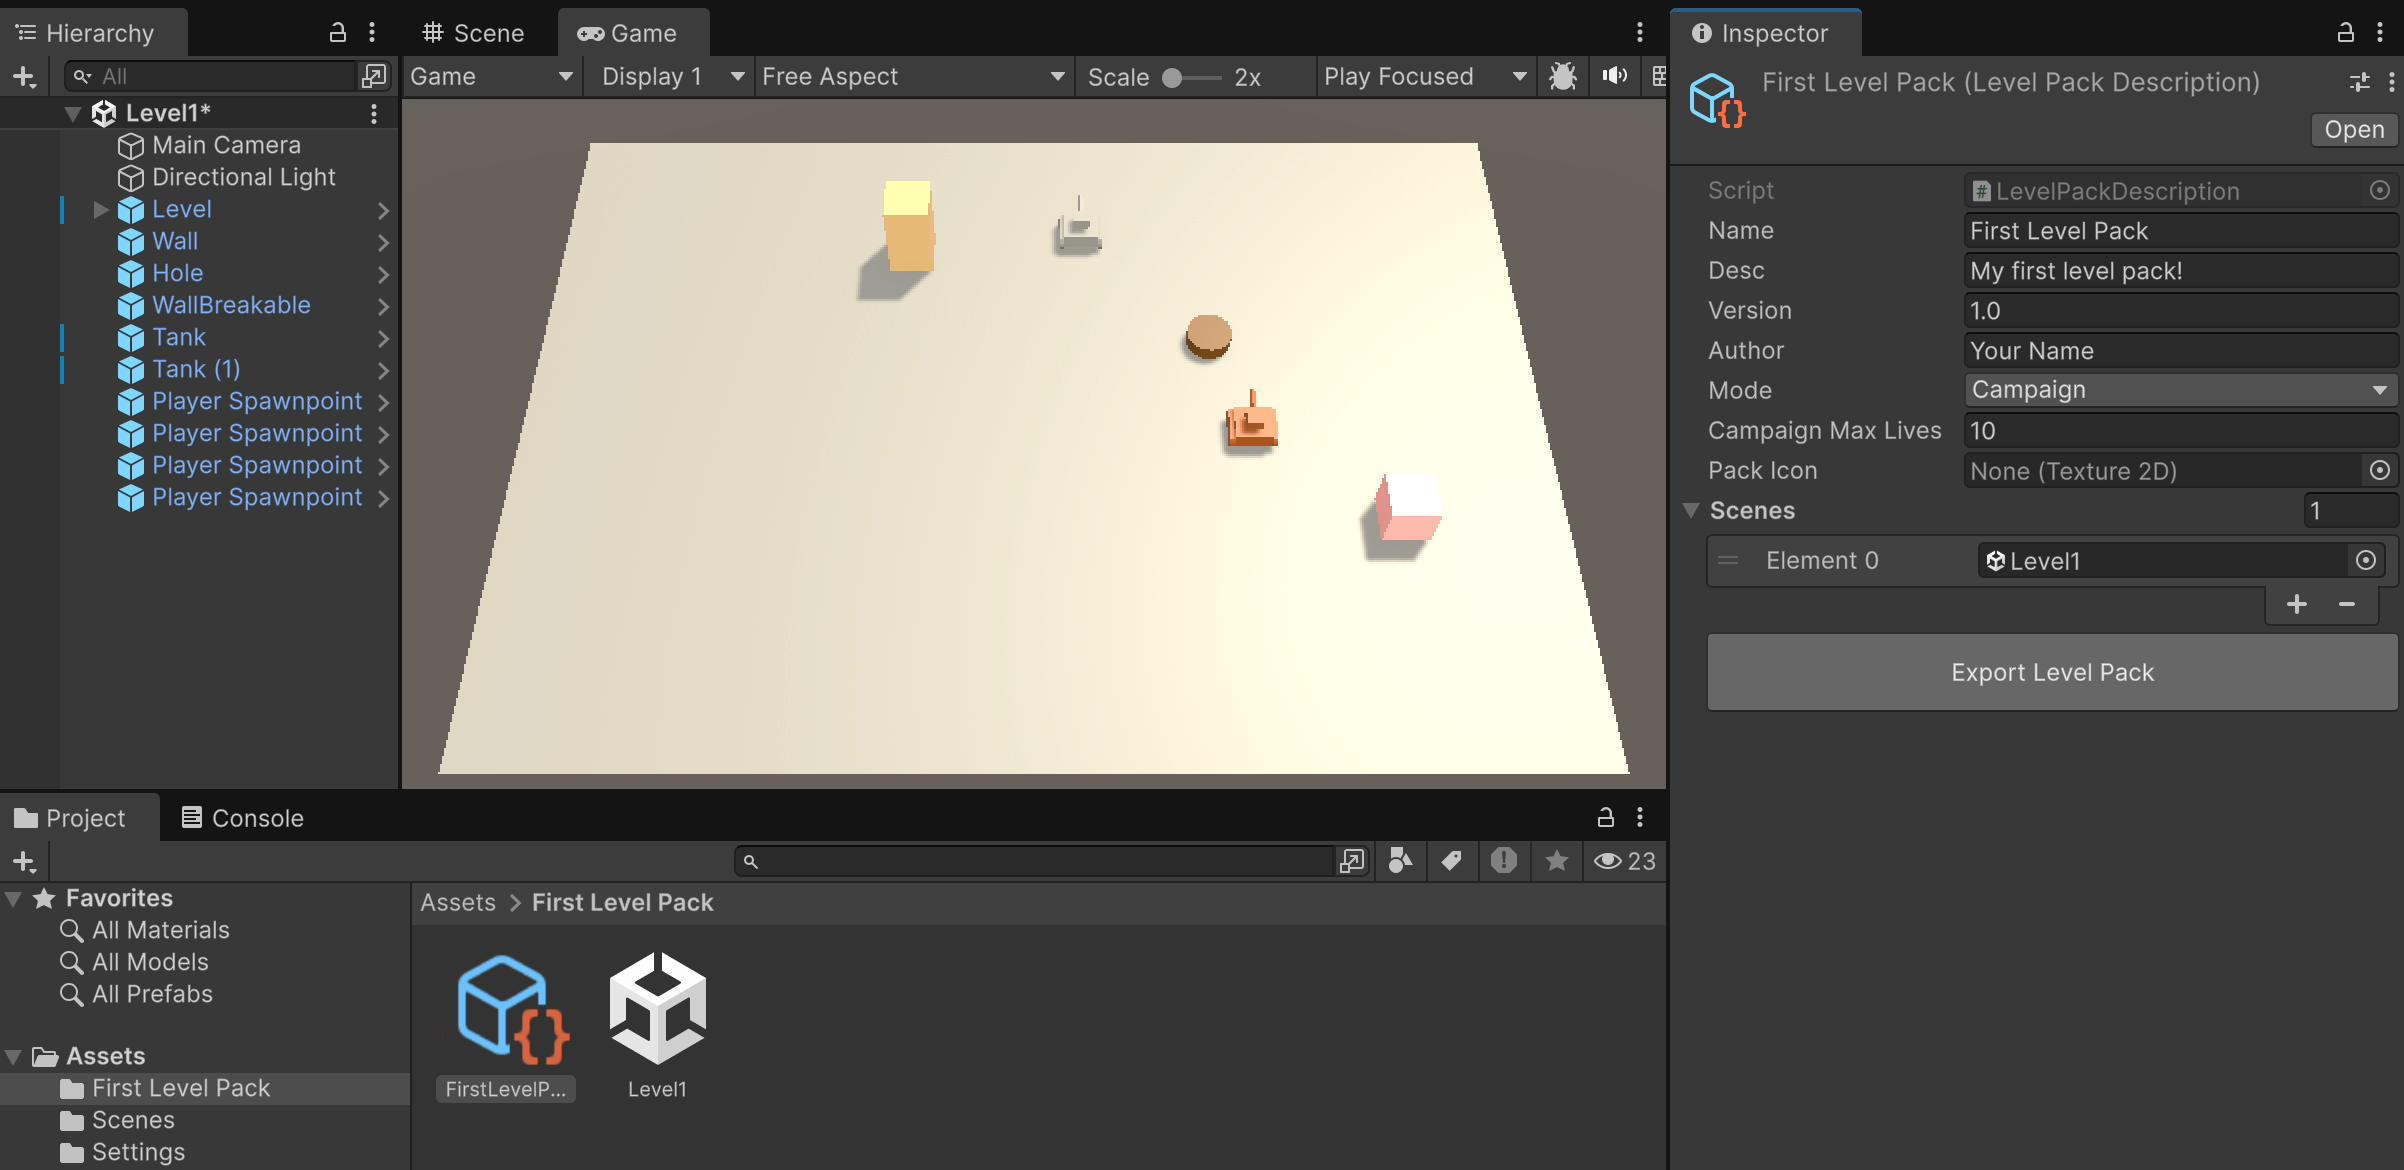
Click the button labeled Export Level Pack. Choose your Desktop folder (or any other folder that is easily accessible to you) as the output location. You'll see a folder appear containing some XML files.
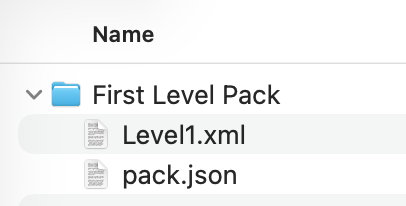
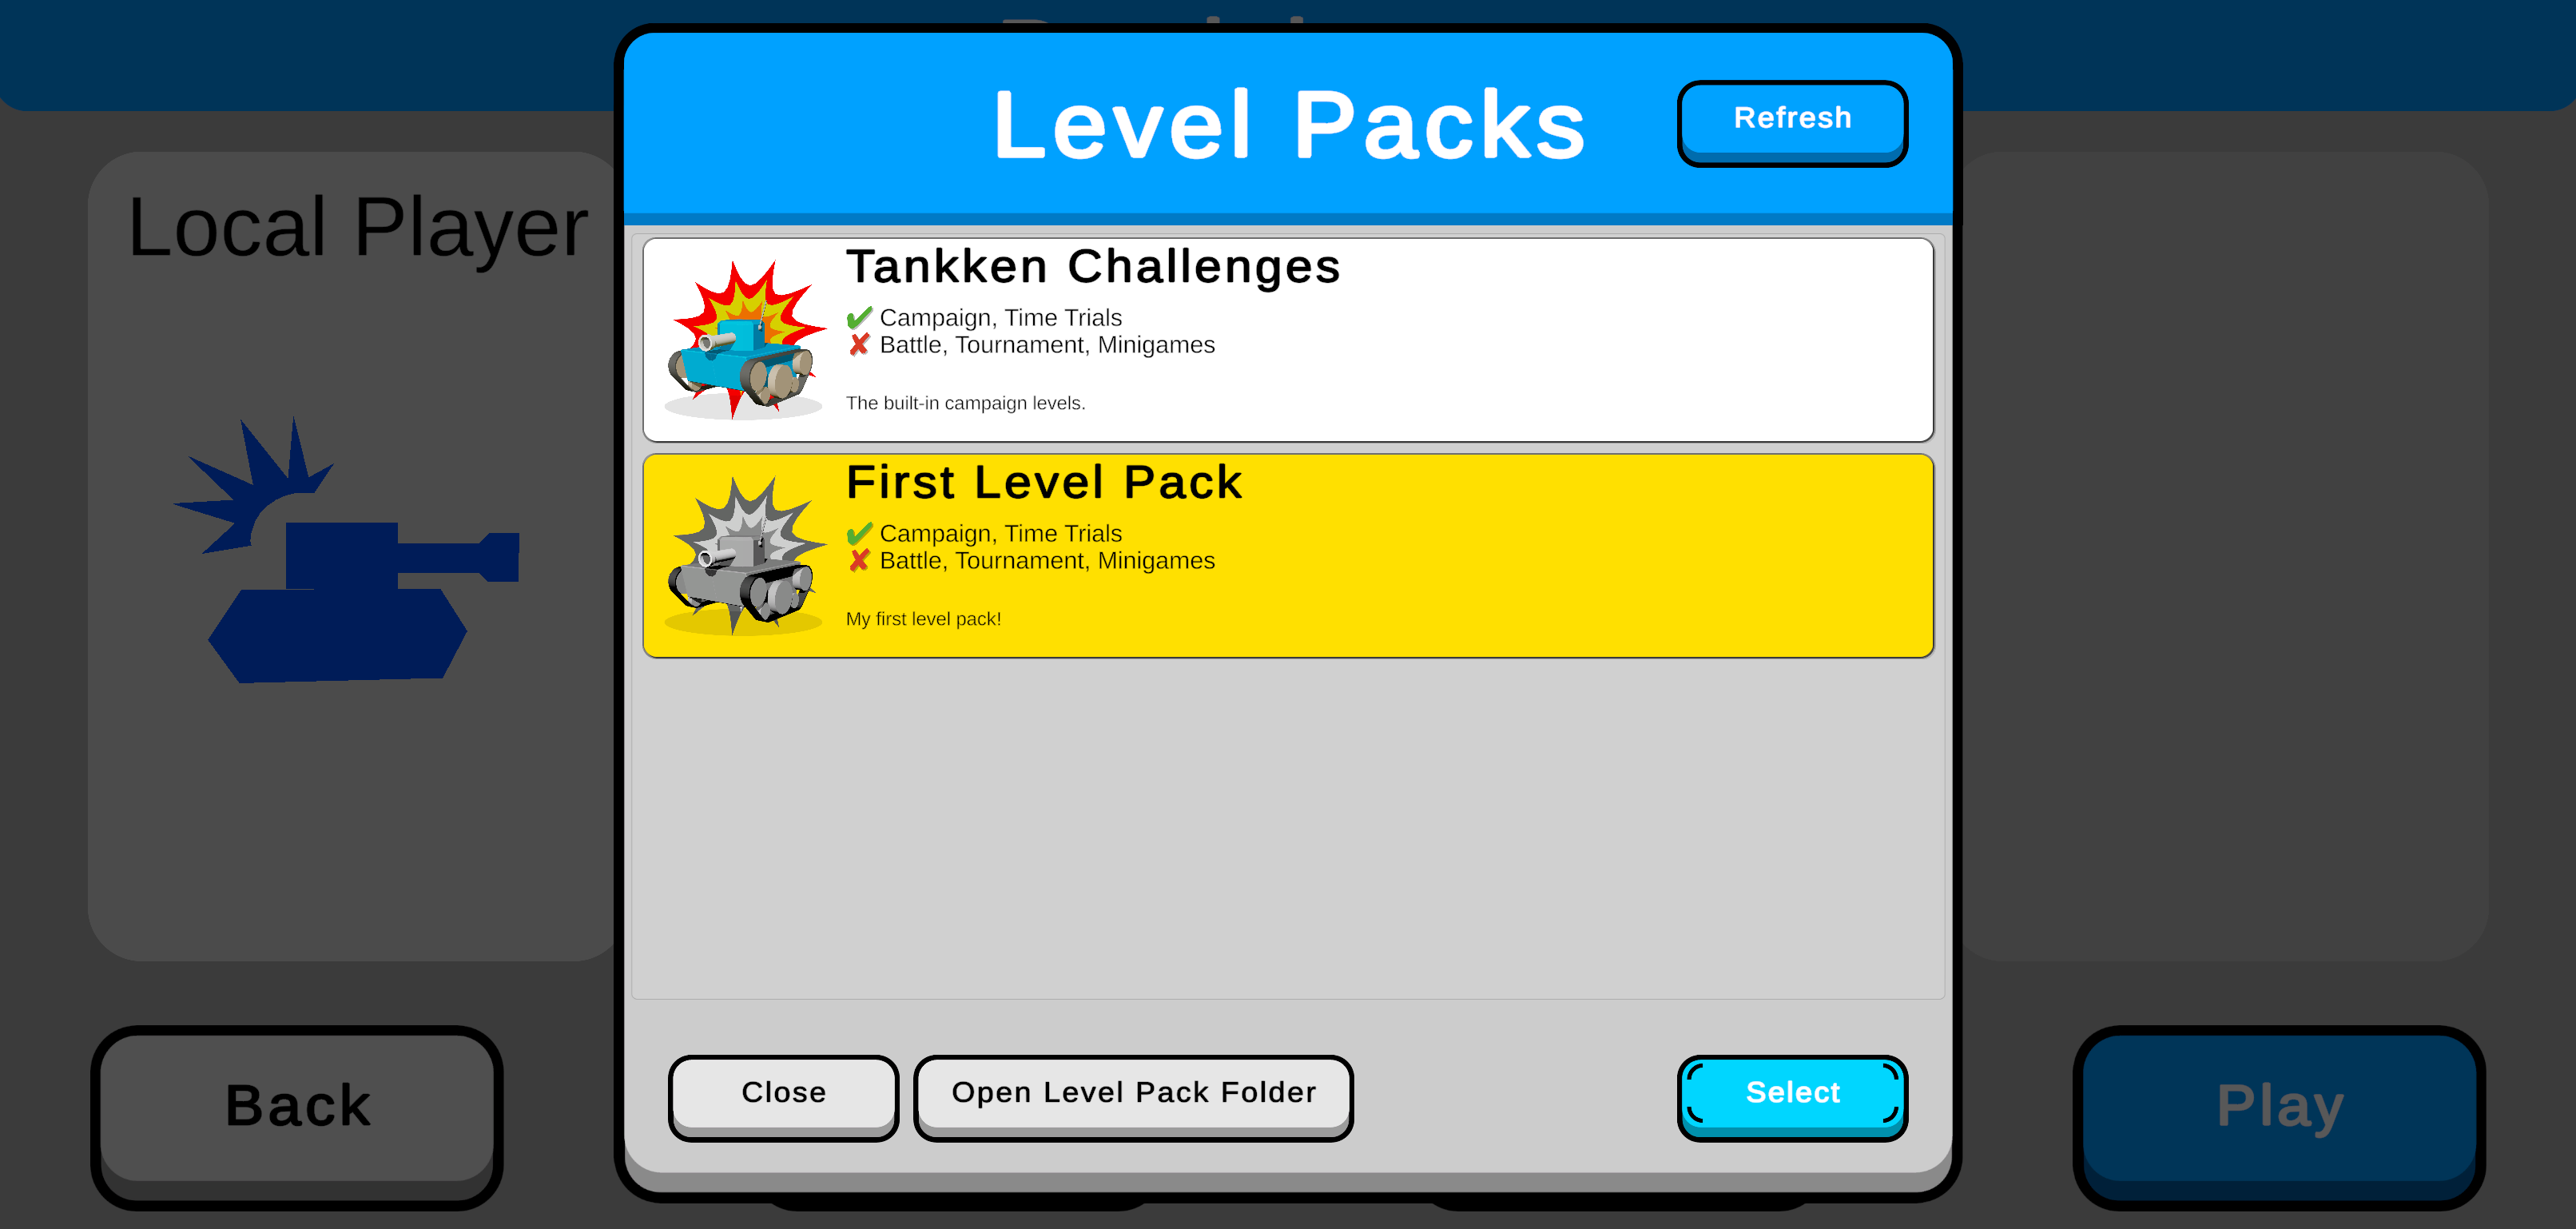
We now need to place this pack inside the folder where Tankken looks for level packs. Open Tankken and press the Level Packs button on the main menu. You'll see this dialog appear:
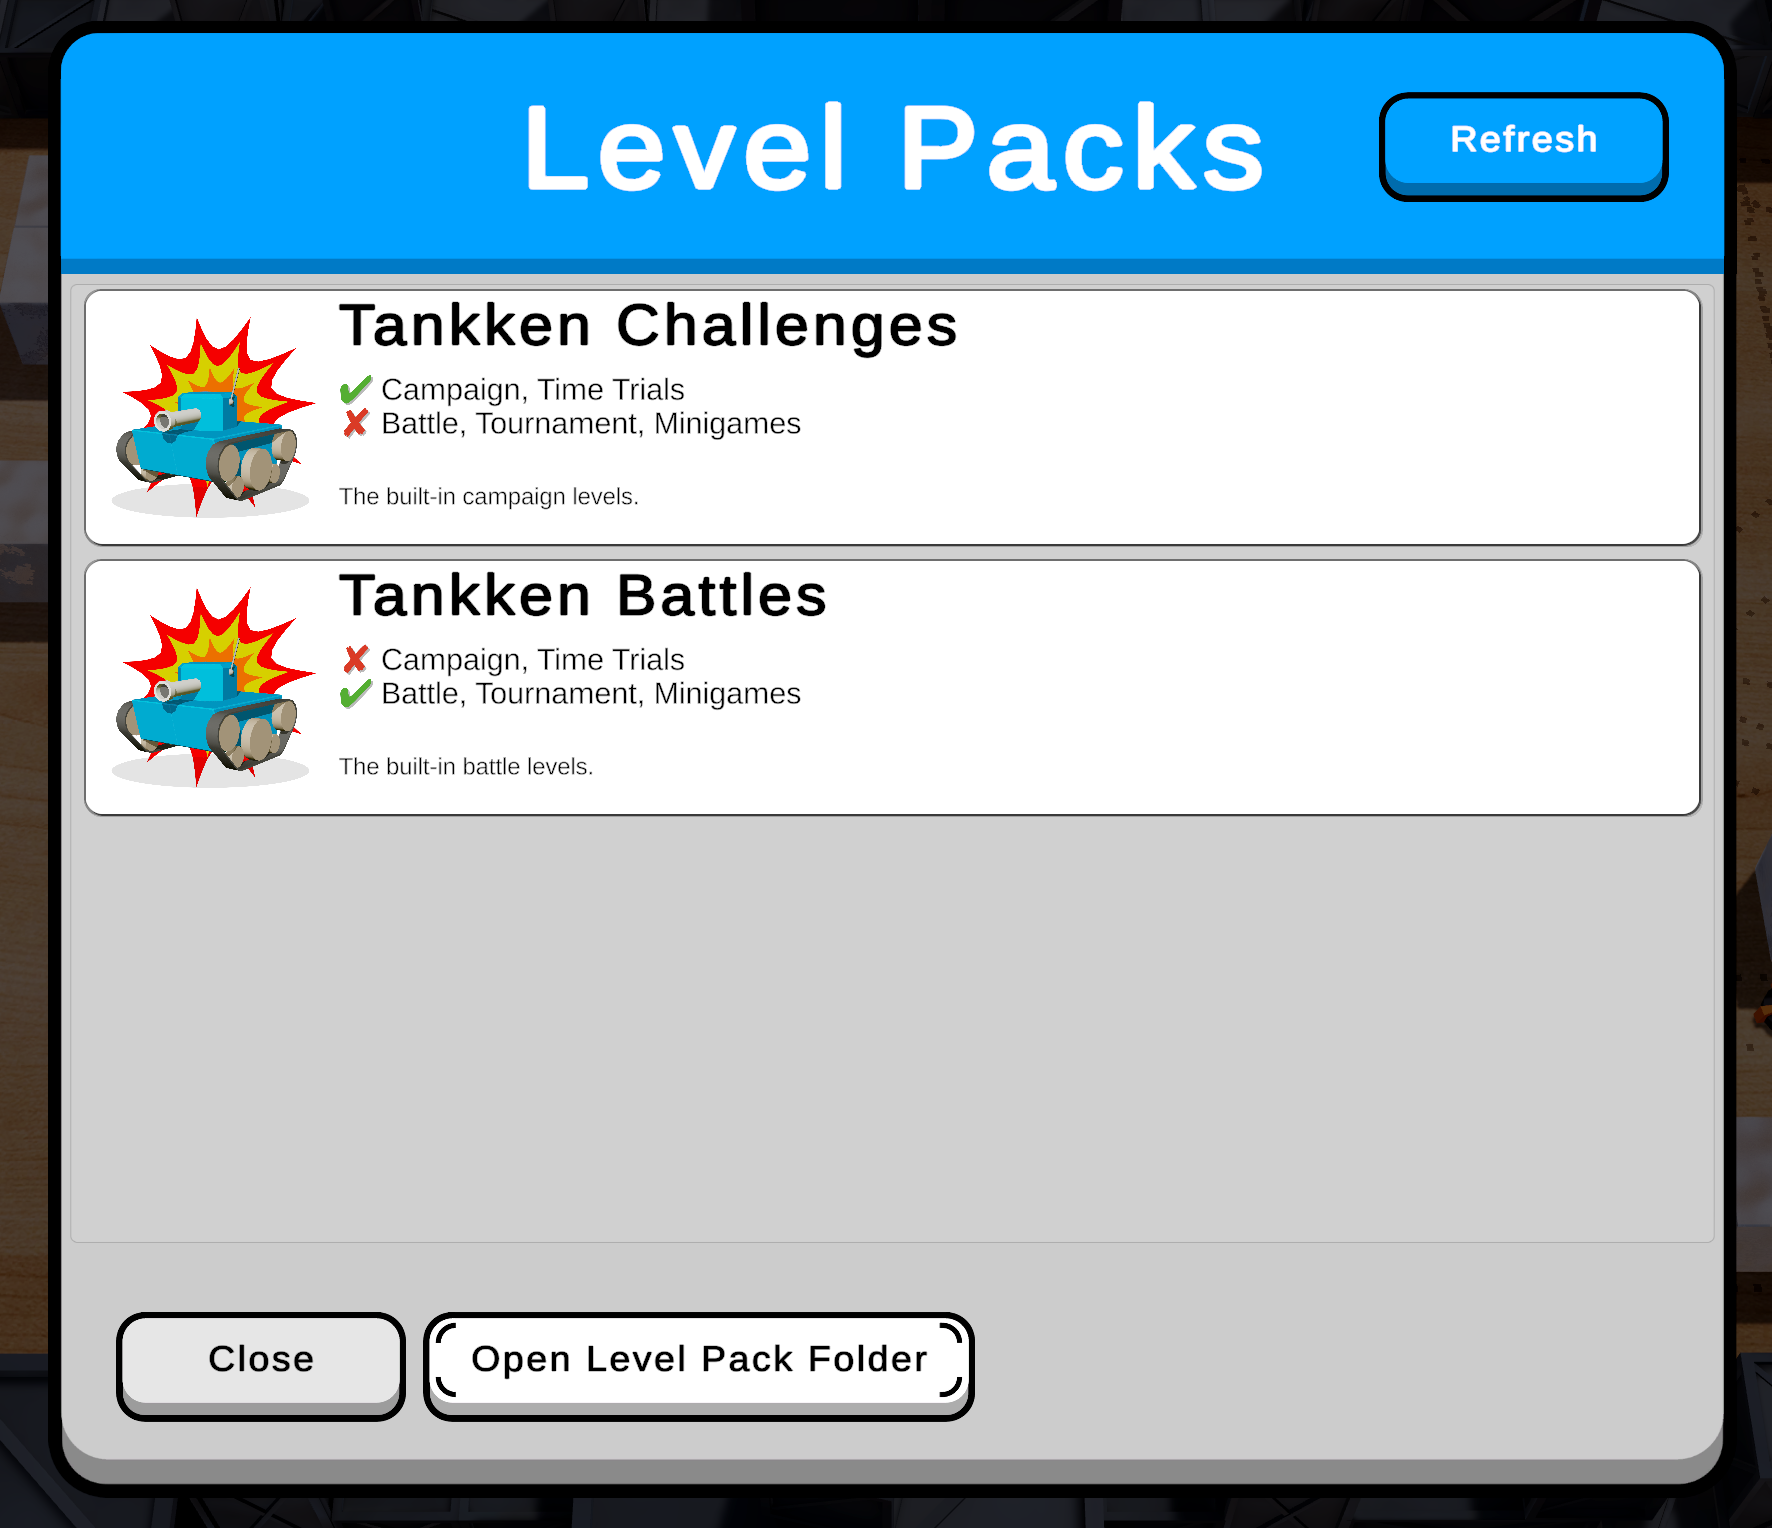
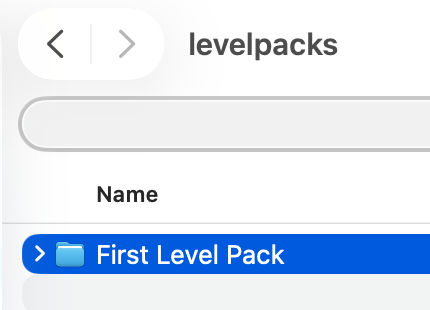
Press the button labeled Open Level Pack Folder. A file browser window will appear, pre-set to the correct location. Move your freshly-exported level pack inside.
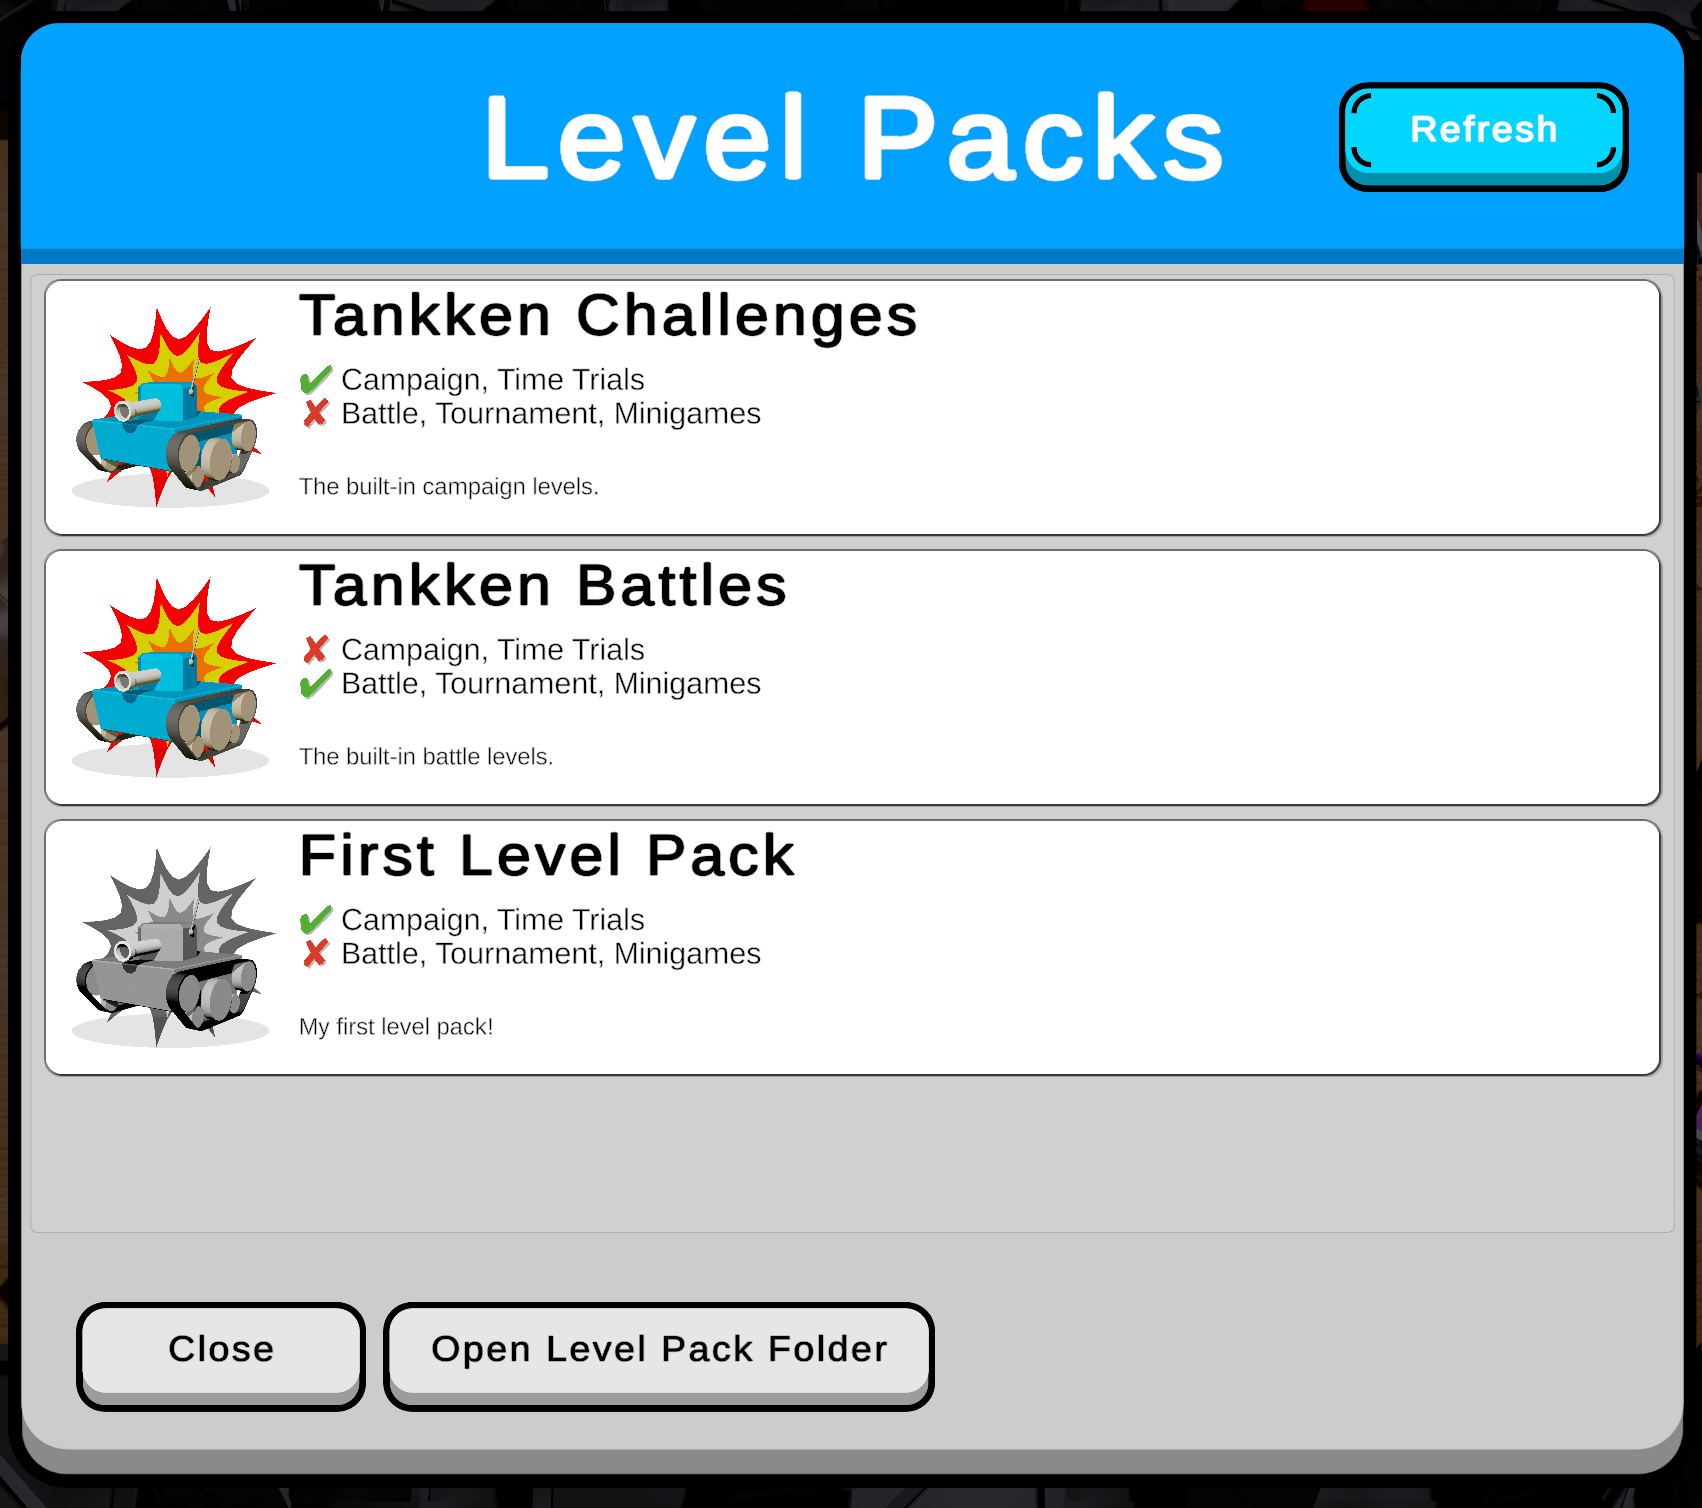
You'll see a new entry appear in-game for your level pack. If it doesn't automatically appear, press the Refresh button.
Close this dialog and go to the Time Trials mode in-game. On the Participants screen, press Level Pack and choose your pack.
You'll see your level in the level chooser, with its name and star rating.
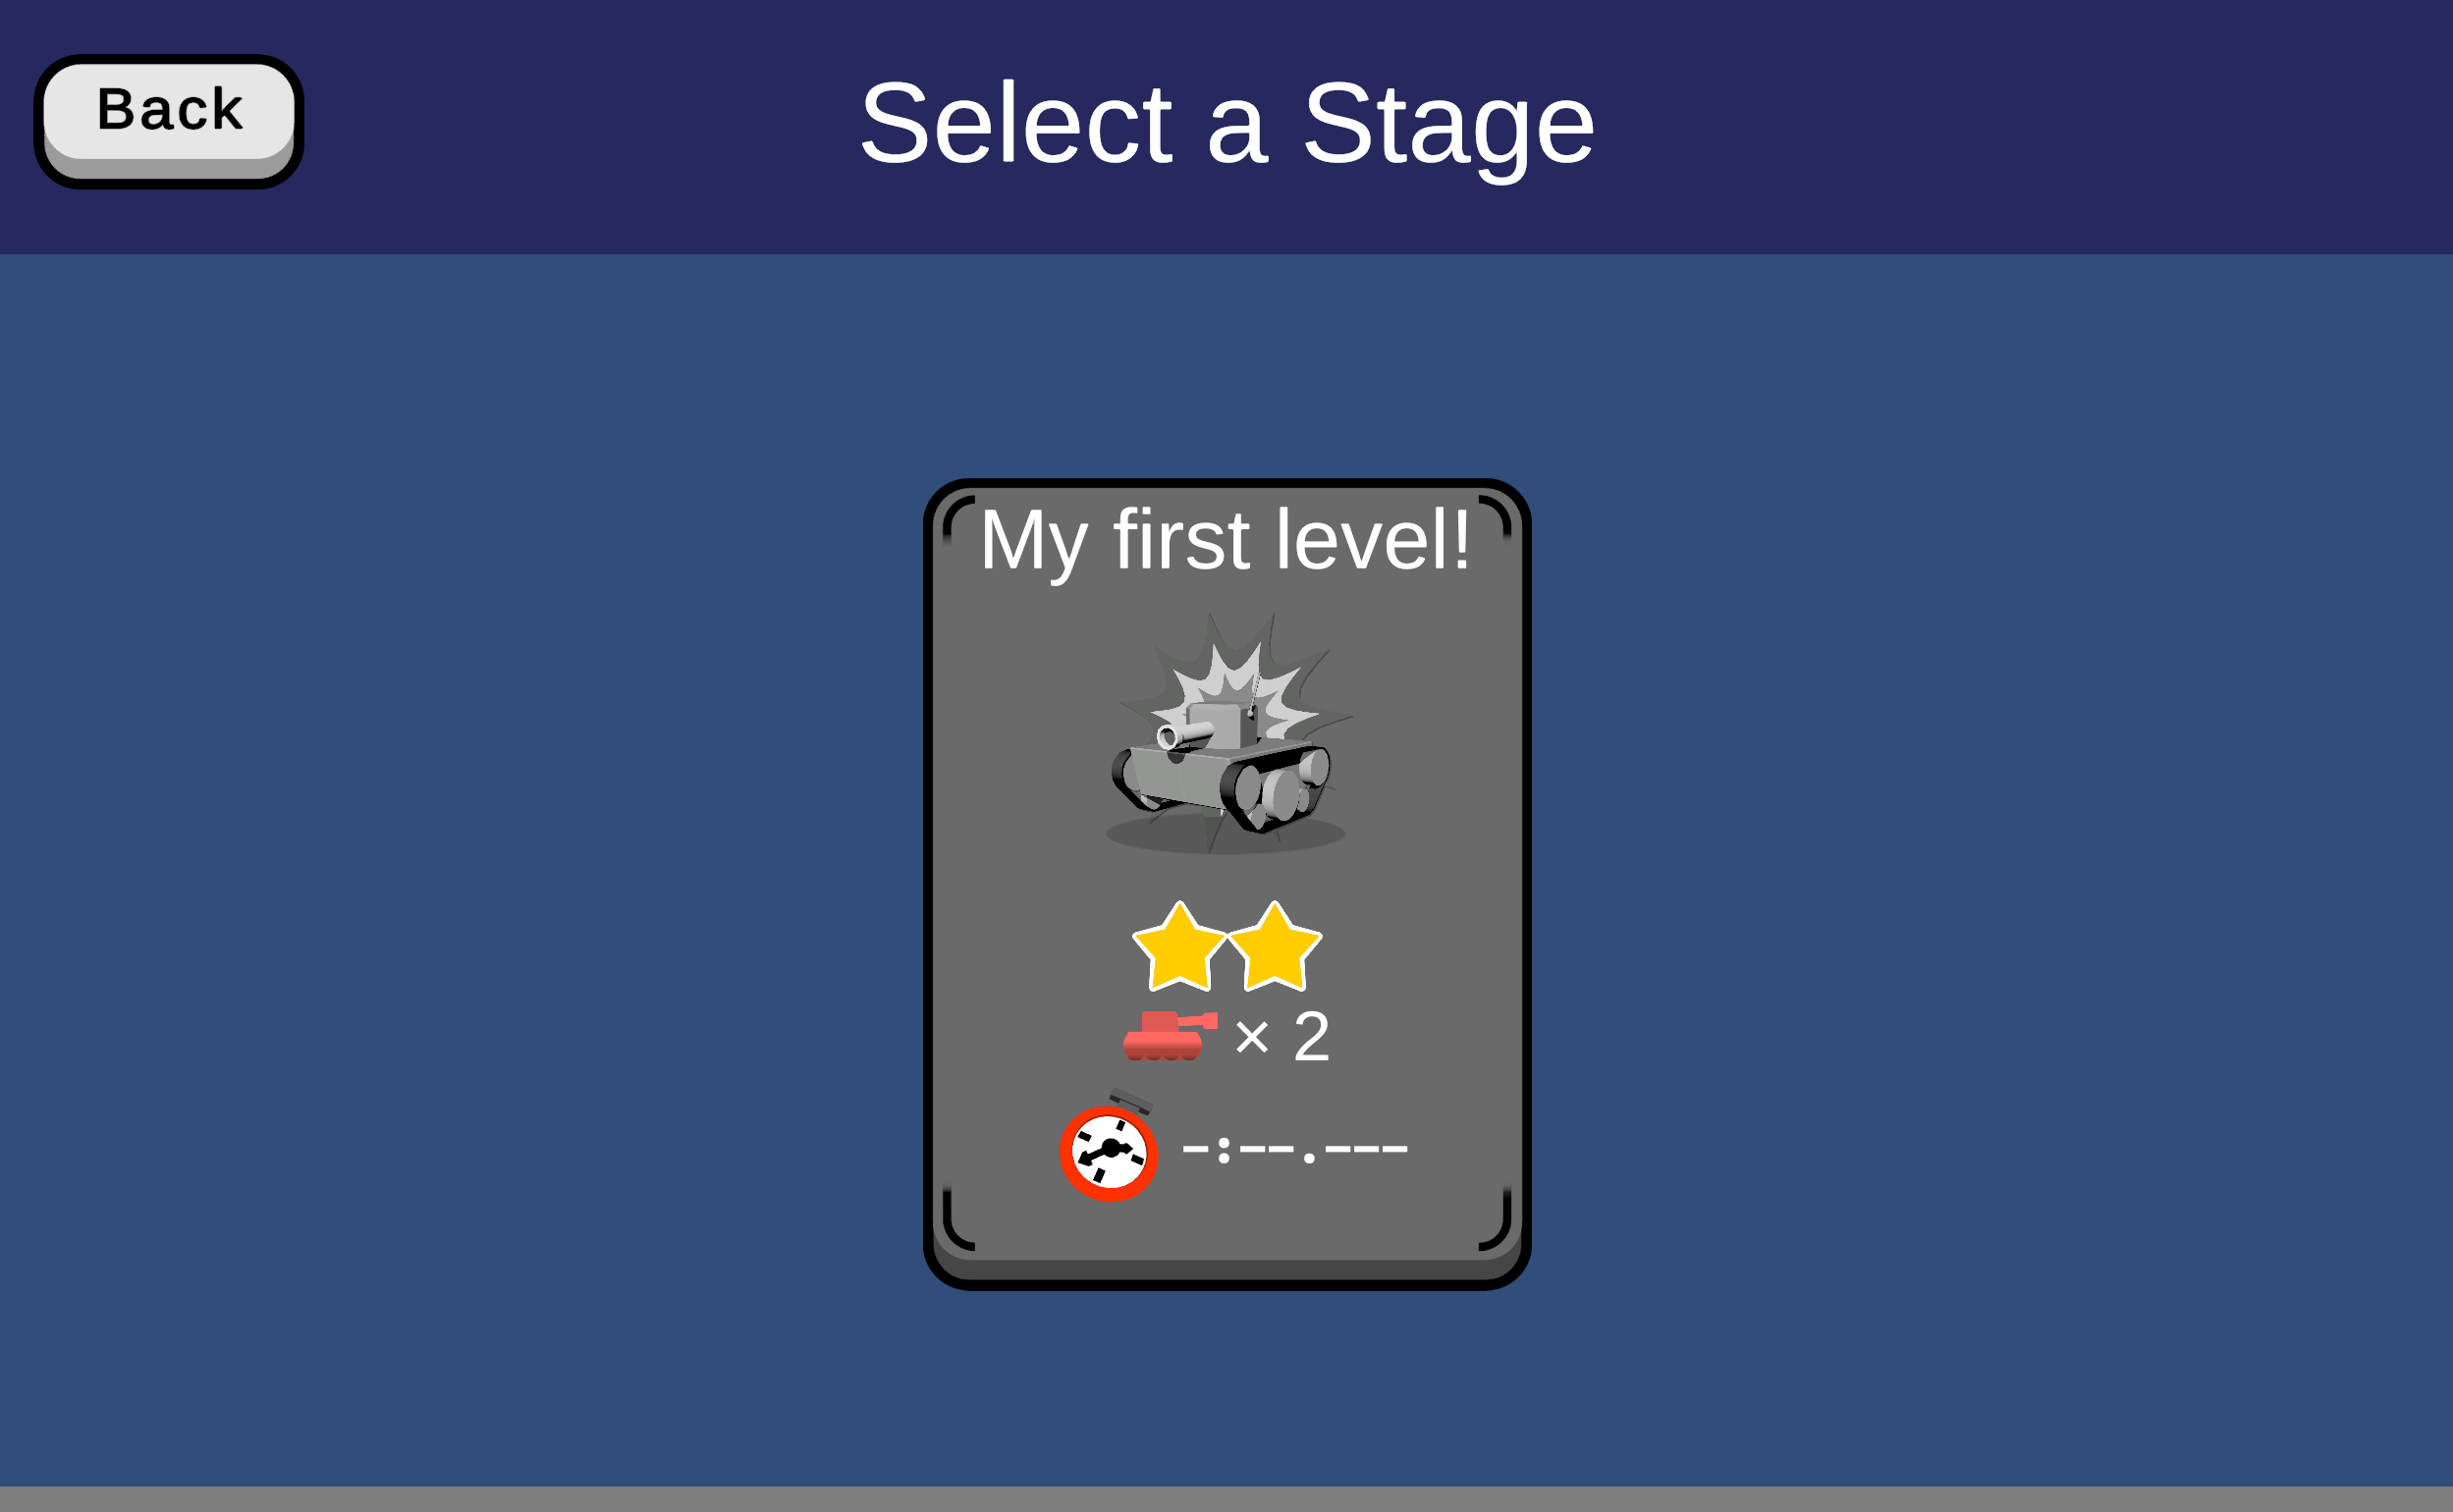
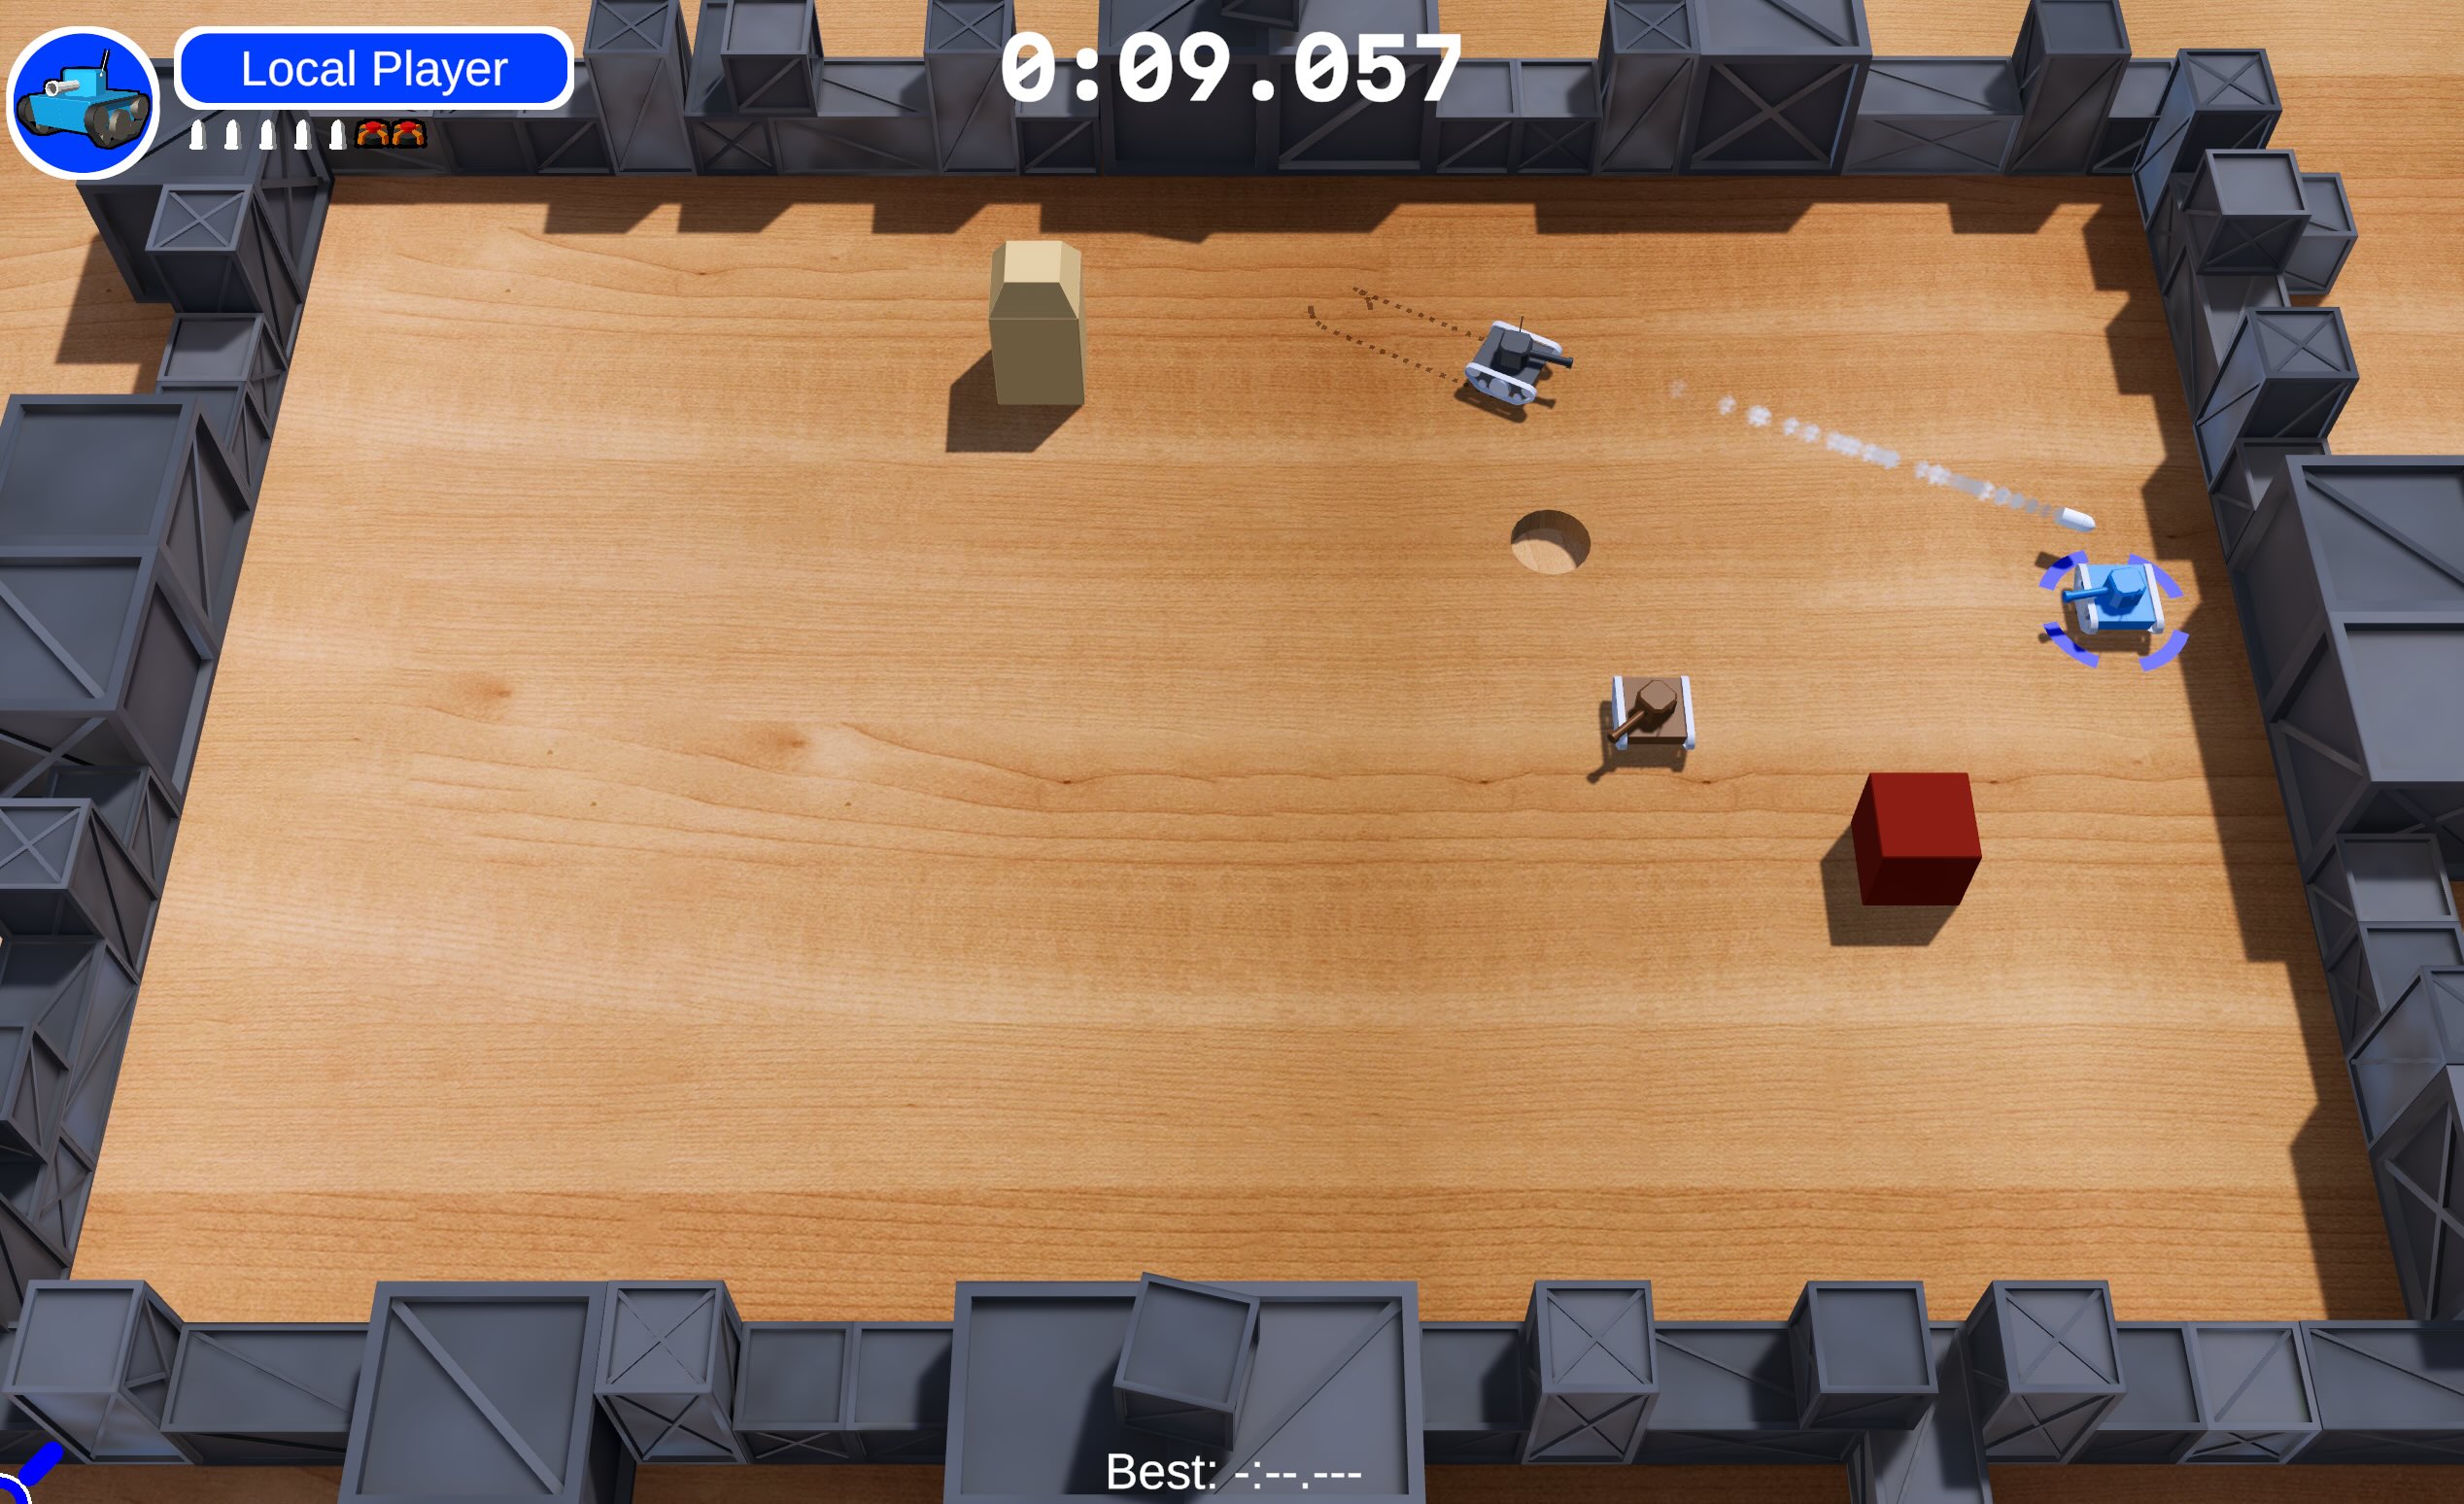
Choose it, and play your level!